

This detailed step by step tutorial shows you How to Crochet a Granny Square.
The classic granny square is a great traditional crochet square that is great to know how to crochet and it’s great for beginners.
Many learn the simple granny square as crochet beginners, however this crochet tutorial is a great refresher if it’s been a while since you crocheted it.
The square itself is versatile & can be used in a lot of different patterns. Such as making a whole blanket using this square, creating garments or anything that can be made combining multiple squares.
In this crochet blog post we will go through step by step how to crochet a granny square, answer common FAQs and share some crochet patterns that uses the granny square crochet pattern.
Find more: Different Granny Shapes.
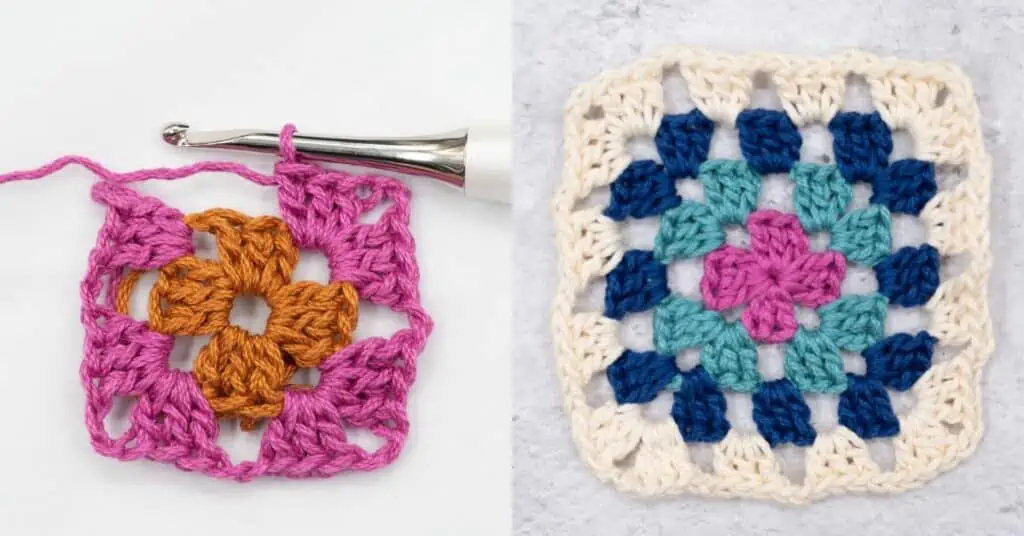
Table of Contents

If you like this granny square pattern, save it on Pinterest!


Get this pattern ad-free + 19 more in one bundle.
Would you like to save this?
We will email this pattern to you, so you can come back to it later.
Free, and you can unsubscribe any time.
 About the Granny Square

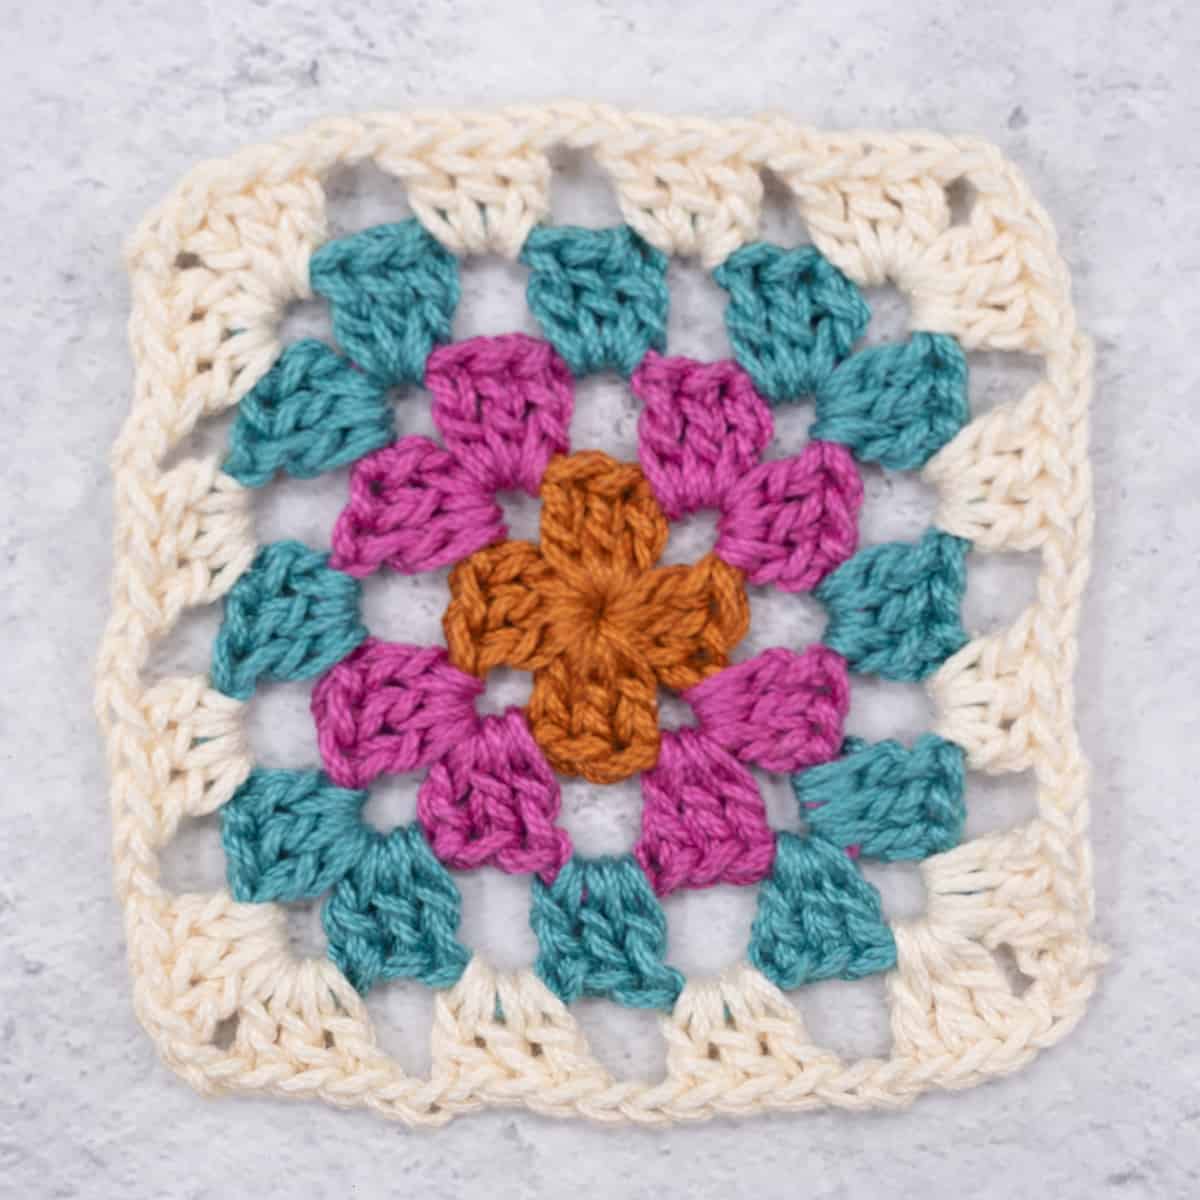
Learn how to crochet a Granny Square. The classic granny square is a great traditional crochet square that is great to know how to crochet and it’s great for beginners.
Project level: Easy
 Materials

Crochet Hook Size
Use any crochet hook size that works with your yarn.
For this tutorial I used 5 mm (US: H-8 UK: 6).
 Crochet Pattern Notes

- With hook and yarn used 1 square measure 11.5 x 11.5 cm / 4.5 x 4.5 inches. However it can be made with any hook & yarn to meet your patterns gauge.
- This tutorial is written in us terms.
- This pattern is written in US terms (learn how to change to UK terms).
- The crochet granny square is crocheted in rounds with the right side facing at all times.
- This crochet granny square can be crocheted with any crochet hook size and yarn.
- Use it as a full project itself, or make many for a combined crochet project.
- You can swap the chains in the beginning for a magic ring/magic circle if you prefer that.
- With hook and yarn used 1 square measure 11.5 x 11.5 cm / 4.5 x 4.5 inches. However it can be made with any hook & yarn to meet your patterns gauge.
- This tutorial is written in us terms.
 Abbreviations

- beg = beginning
- ch = chain
- ch-2-sp = chain space created by 2 chains
- ch-sp = chain space
- ch-space = open space made by chain(s)
- dc = double crochet
- prev = previous
- rep = repeat
- sl st = slip stitch
- sp / sp(s) = space(s)
- st = stitch(es)
We try our best to include all crochet abbreviations in the list above for the crochet pattern, but sometimes we may forget one or two.
Learn more about crochet abbreviations & find a complete list on our Crochet Abbreviations & Terms post.
 Instructions for the Granny Square

Written Instructions:
Written instruction – basic granny square pattern
All rounds are made with right side facing.
Round 1: Ch 3, dc 2 in 3rd ch (base ch/first ch) from hook, *ch 2, 3dc in base ch*, rep from *to* 2 times, ch 2, sl st in top of ch from beginning of round (=20 st).
Fasten off & cut yarn.
Round 2: Make slip knot, dc 3 in any corner ch-2-sp, ch 2, *dc 3 in next corner ch-2-sp, ch 2, dc 3 in same corner ch-2-sp, ch 2*, rep from *to* 2 times, dc 3 in first corner ch-2-sp, ch 2, sl st in top of 1st dc from beg of round (=40 st).
Fasten off & cut yarn.
Round 3: Make slipknot, dc 3 in any corner ch-2-sp, ch 2, *dc 3 in next ch-2-sp, ch 2, dc 3 in next corner ch-2-sp, ch 2, dc 3 in same corner ch-2-sp, ch 2*, rep from *to* 2 times, dc 3 in next ch-2-sp, ch 2, dc 3 in first corner ch-2-sp, ch 2, sl st in top of 1st dc from beg of round (=60 st).
Fasten off & cut yarn.
Repeat the same way to make additional rounds.
Step-by-step Photo Instructions
The first step of the crochet granny square is to make a slip knot.

Chain 3

Double crochet in first chain made

Double crochet in same chain, first granny cluster (3-dc group) made.

Chain 2, creating ch-space

Double crochet 3 in same chain. You have now crocheted a 3 dc cluster.

Chain 2, creating next corner sp. Each time you crochet chains like this, you will create chain spaces. You will work into these on the second round.

Double crochet 3 in same chain

Chain 2, creating ch-sp / corner space / ch-space.

Double crochet 3 in same chain one last time on the first round.

Chain 2, creating the last corner ch-space on first round.

Slip stitch in 3rd chain from beginning of round. Fasten off and cut yarn. You have now finished the first round of the granny square.

Round 2: Make slip knot with second color.
You can continue with the same color, if so, don’t cut yarn after finishing round 1, and start with ch-2 counting as the first double crochet on next step.

Dc 3 in any corner ch-space

Ch 2, creating ch-space. The chain spaces you create on the second round, will be the ones you work into on the third round.

Dc 3 in next ch-space

Ch 2, creating corner ch-space on second round.

Dc 3 in same ch-space

Ch 2, creating ch-space on one of the edges.

Repeat steps 16-19 in all corner spaces.

Dc 3 in next ch-space, ch 2

Slip stitch in first dc made. Fasten off & cut yarn.

Round 3: Make slip knot with third color to start the third round.
If you want to continue with the same yarn color, chain 2 in place of the first double crochet on next step.

3 dc in any corner ch-space.

Ch 2, dc 3 in next ch-space, ch 2.

Dc 3 in next ch-space, ch 2, dc 3 in same ch-space

Repeat step 25. Ch 2, dc 3 in next ch space, ch 2.

Repeat step 26 to crochet the second corner.

Repeat step 25. Ch 2, dc 3 in next ch space, ch 2.

Repeat step 26 to crochet the third corner.

Repeat step 25 one final time. Ch 2, dc 3 in next ch space, ch 2.

Finalize last corner, Dc 3 in next ch-space, ch 2.

Slip stitch in first dc made. Fasten off & cut yarn.

Weave in ends.

Frequently Asked Questions

Granny Square Blanket Tips
Many who crochets granny squares, wants to crochet granny square blankets. This can be done with any yarn and hook size, giving you different results.
You can also choose how many rounds you want to do on each granny square, if you want to change colors on each row or not and decide how to assemble the granny squares.
All in all, you don’t need a detailed crochet pattern to do this, once you learn how to crochet a granny square you know how to crochet a granny square blanket.
Methods to assemble granny squares
To assemble granny squares you have the option of crocheting or seaming them together.
Many uses the whip stitch to seam it together, while some uses the invisible seam.
You can also crochet them together, using techniques such as the Join as You Go Method, Whip Stitch and Flat Slip Stitch Join.
Single Granny Square Tips
The most typical granny square are made with double crochet stitches, like in the how to crochet a granny square tutorial below.
If you want to make a single granny square, all you have to do is change all dc stitches for single crochet stitches.
Sizes of the granny square
Granny squares can be made in many sizes.
You can adjust the sizes based on the crochet hook size and yarn weight you use.
But you can also choose how big you make it based on the number of rounds you crochet.
Avoid curling granny squares
One problem many crocheters face when crocheting granny squares can be that the finished granny square doesn’t lay flat or curl.
To fix that problem, most likely you have used a crochet hook that is either to big or small for your yarn.
Try going up or down in hook size to see if it fixes your problem.
Second solution would be to adjust the number of chains you do between the 3 double crochet blocks.
Solid granny squares
This how to crochet a granny square tutorial shows you how to create a multi colored granny square. If you wan to crochet a solid granny square, do not fasten off when you finish a round, then start with chain 2 to replace the first dc on round 2 and onwards
Don’t forget to save this tutorial on Pinterest!