

In this crochet tutorial you’ll learn How to Whip Stitch crochet pieces together.
Seaming crochet pieces together can something you dread, but with this detailed step by step tutorial, you’ll see how easy it can be.
You can use this crochet seam when you have two pieces with stitches along the edges or when you are going to seam along the edge of crocheted rows.
The whip stitch technique is one of the most common ways to seam crochet garments together, sides of pillows, and is also a very good way to assemble granny squares into finished projects.

Would you like to save this?
Whip Stitch FAQ:
Is the whip stitch a permanent stitch?
Yes and no! You can use a rounded tip needle, that makes it easier to unravel the seam. With a pointed end needle, it will be more difficult. It’s especially easier if you go through crocheted stitches, than if you go through yarn with a pointed needle.
Is the whip stitch the same as the mattress stitch?
No, the mattress stitch is another seam. It’s also referred to as the invisible join.
How to whip stitch granny squares together?
You’re in luck, because it’s exactly the example used in the step by step photos and video below.
Layers of fabric?
In this tutorial you see how the whip stitch is seamed laying flat, with two crochet pieces side by side. You can however place them on top of each other. You will have a top layer and a bottom layer of fabric. You will go through both layers and seam as shown on this tutorial.
Don’t forget to save this tutorial on Pinterest!

Ultimate Guide to Granny Squares
Like this? Get the ad-free version + 33 other crochet patterns & tutorials with the “Ultimate Guide to Granny Squares”.
Learn more about the Ultimate Guide to Granny Squares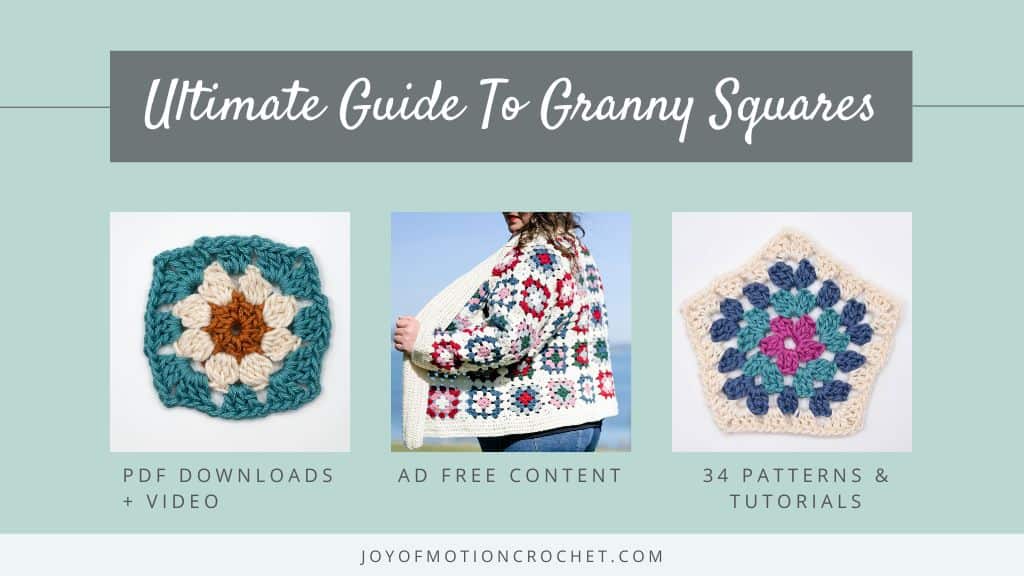
Tools and Materials Needed
- Yarn needle
- Lion Brand – 24/7 Cotton
- It’s recommended to use pieces of yarn originally used for your crochet project, instead of thread.
How to Seam Crochet Pieces Together Using The Whip Stitch – Written Description
- With a new strand of yarn on the needle.
- Line up the two crochet pieces parallel.
- Insert the needle and go through corresponding stitches on both pieces (or corresponding row).
- Pull through and tighten.
Whip Stitch Crochet Pieces Together – Video Tutorial

How To Whip Stitch Crochet Pieces Together
Skill Level
Tools

Materials
Instructions
- Place the two crocheted pieces side by side. You can also choose to lay the two pieces of fabric on top of each other. You can choose to either have the wrong side of the fabric or the right side of the fabric facing.

- Start the whip stitch seaming by inserting the yarn needle from the left side through the first stitch. Note: You can insert from the right side as well, just make sure you insert from the same side on each stitch.
- Insert the needle through the second stitch. If you have stitches along both edges, go through the stitch that is lining up with the first stitch you inserted the needle into. If you don’t have stitches along your edge, try to line the pieces up the best you can.
- Pull yarn through, leaving a tail of yarn to weave in later. Notice, you don’t have to create a knot when seaming crochet pieces together.
- Insert sewing needle in the next two stitches. On this example we’re going trough both crochet stitch loops. For a different result, you could opt for going through either just the back loop or just the front loop.
- Pull yarn through the two stitches. Notice how the loop you create is on the other side of the stitch than the needle.
- Pull to tighten. Hold the yarn tail, so you don’t pull the yarn the whole way through. You’ve now finished the first whip stitch.
- Repeat steps to continue to seam along edge.

- Repeat steps to seam along whole edge. This is how it looks after you’ve repeated the whip stitch through multiple stitches. You can see that when you’re using the same color yarn, the seam is almost invisible. However it’s also creates some visual interest.
- This is how it looks when you’ve got two joined pieces.


Crochet Patterns Using the Whip Stitch Seam
- Granny Square Cardigan
- Granny Square Ottoman
- Granny Square Bag
- Crochet Cushion Cover
- Granny Square Basket
When assembling Granny Squares (learn how to crochet granny squares), such as the patterns mentioned above, a great alternative is to use the Flat Slip Stitch Join instead of the Whip Stitch.
This technique also works well for other granny squares, such as the Ferris Wheel Granny Square and the Leaf Clover Granny Square.

