

The Ferris Wheel Granny Square, is a crochet square I’m sure you’re going to love.
The square is made up of only 3 rounds, and makes a beautiful square for all kinds of projects.
Such as making a whole blanket using this granny square, creating garments or anything that can be made combining multiple squares.
It’s a great substitute for the Classic Granny Square.

Would you like to save this?
Ultimate Guide to Granny Squares
Like this? Get the ad-free version + 33 other crochet patterns & tutorials with the “Ultimate Guide to Granny Squares”.
Learn more about the Ultimate Guide to Granny Squares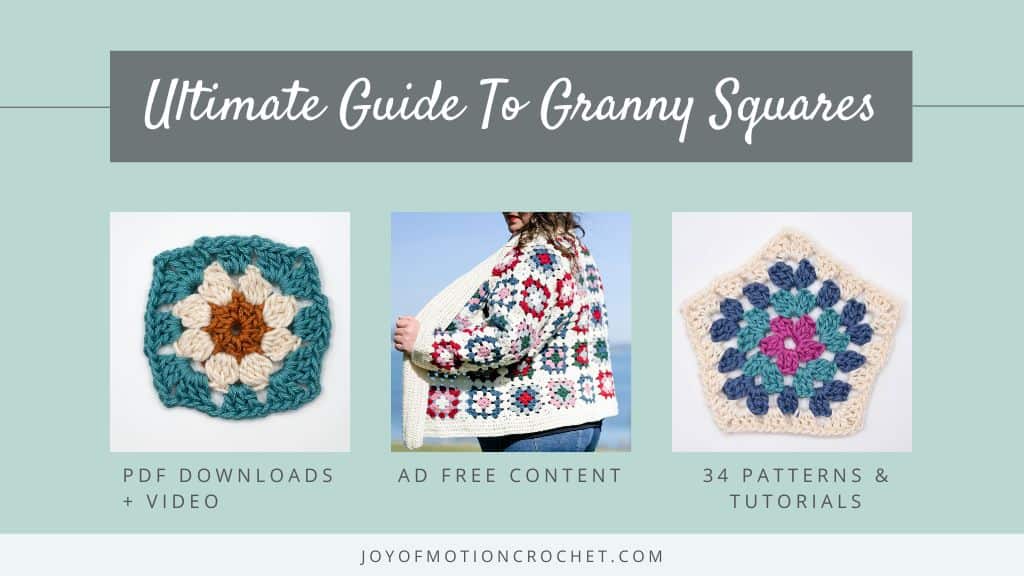
Materials Needed
To crochet the Ferris Wheel Granny Square you can use any crochet hook size and weight yarn. If you’re following a crochet pattern, use the crochet hook and yarn suggested to get the correct gauge.
- Crochet hook: 6 mm / US J – 10 / UK 4
- 4 Medium Yarn
- Lion Brand Yarn – Basic Stitch Premium in 3 colors.
Don’t forget to save this tutorial on Pinterest!

Notes
- When using the yarn and hook given the square measure 10 x 10 cm or 4 x 4 inches.

Crochet Abbreviations
- beg = beginning
- CA = color A (in this case orange)
- CB = color B (in this case white)
- CC = color C (in this case grey)
- ch – chain(s)
- ch-space – refers to a space made of chains previously made
- ch-ring – ring made up of chain stitches
- dc = double crochet
- dc3tog – crochet together 3 double crochet stitches
- sl st – slip stitch
- st – stitch(es)
- tr – treble crochet
We try our best to include all crochet abbreviations in the list above for the crochet stitch pattern, but sometimes we may forget one or two.
Learn more about crochet abbreviations & find a complete list on our Crochet Abbreviations & Terms post.
Ferris Wheel Crochet Granny Square Written Tutorial
With CA ch 6 st, sl st in 1st st, making ch-ring.
Round 1 (with CA): Ch 6 st (counts as 1 tr + 3 ch), *tr 1 in ch-ring, ch 3*, repeat from *to* 6 times, sl st in 3rd ch from beg of round (=8 tr with 3 ch between each).
Round 2 (with CB): Ch 3 st, *dc3tog in next ch-space, ch 2, dc3tog in same ch-space, ch 2*, repeat from *to* 7 times, sl st in 3rd ch from beg of round (=48 st – 16 dc3tog with 2 ch between each)-¨.
Round 3 (with CC): Ch 1 (counts as 1 sc), *ch 1, dc 3 in next ch-space, ch 3, dc 3 in same ch-space, ch 1, sc 1 in next ch-space, ch 2, sc 1 in next ch-space, ch 2, sc 1 in next ch space*, repeat from *to* 3 times, sl st in 1st ch.
Fasten off & cut yarn.


Ferris Wheel Granny Square
Skill Level
Tools

Materials
Abbreviations
- beg = beginning
- CA = color A (in this case orange)
- CB = color B (in this case white)
- CC = color C (in this case grey)
- ch – chain(s)
- ch-space – refers to a space made of chains previously made
- ch-ring – ring made up of chain stitches
- dc = double crochet
- dc3tog – crochet together 3 double crochet stitches
- sl st – slip stitch
- st – stitch(es)
- tr – treble crochet
Instructions
Setup
- Chain 6 st.

- Slip stitch in 1st st.


Round 1
- Chain 6 stitches, counts as 1 treble crochet and 3 chains.

- Treble crochet 1 in ch-ring, showing how you go through the ring to pull up the first loop.

- How it looks after you pulled up that first loop through the chain-ring.

- The treble crochet is finished & 3 chains are made after that.

- 6 more treble crochets made, with 3 chains between each.


Round 2
- Switched to color B. 3 chains made.

- Yarn over and pull up a loop from first ch-space.

- Yarn over and pull through 2 first loops on hook.

- Repeated the previous steps 2 more times. You have 4 loops on hook.

- All 4 loops on hook pulled through. And first dc3tog are finished.

- Chain 2 and the second dc3tog finished.

- Chain 2.

- The previous steps with dc3tog in next ch-space, ch 2, dc3tog in same ch-space, ch 2, repeated 7 times. Pulled through with color C.


Round 3
- Chain 2, double crochet 3 in next ch-space.

- Chain 3, dc 3 in same ch-space.

- Chain 1, single crochet 1 in next ch-space.

- Chain 2, single crochet 1 in next ch-space.
- Chain 2, single crochet 1 in next ch-space.

- Previous steps repeated 3 times to finish the last round.


Crochet Patterns Using The Ferris Wheel Granny Square
What would you make with this crochet square, let me know in the comments below.

Crochet Patterns Using Granny Squares
Use the granny square you just learned in one of these crochet patterns featuring granny squares:
- Granny Square Cardigan
- Granny Square Sweater
- Granny Square Market Bag
- Granny Square Basket
- Granny Square Ottoman
- Granny Square Dishcloth
- Granny Square Dish Towel
- Ferris Wheel Granny Square Shawl
- Your Sunday Shawl
- Clover Leaf Granny Square Pillow
- Not Your Granny’s Tee
- Daisy Crochet Stanley Tumbler
- Crochet Bum Bag
- Daisy Granny Square Bag Pattern
You could also join multiple to crochet a granny square blanket.
How to Join Granny Squares Together
After learning to crochet this granny square, you of course need a way to join them together. There are several great ways to join granny squares together. But I’ll share 3 of the most common with you!
Whip Stitch
- The whip stitch uses yarn and needle.
- To whip stitch granny squares together, align the stitches of two granny squares with the right side facing against each other.
- With a needle, work through each of the aligned stitches with the yarn and needle
Whip Stitch Photo & Video Tutorial
Flat Slip Stitch Join
The flat slip stitch join creates a beautiful slip stitch seam between each of the granny squares.
- Make a slip knot and place it on the crochet hook.
- Line up two granny squares with the right side facing.
- Insert hook through the back loops of corner stitches on each square and slip stitch.
- Continue repeating for each stitch along the edge of the granny squares.
Flat Slip Stitch Join Tutorial
Join Granny Squares As You Go (JAYGO)
When you join granny squares as you go you will use yarn and a crochet hook, now sewing necessary.
There are 3 great ways to JAYGO:

