

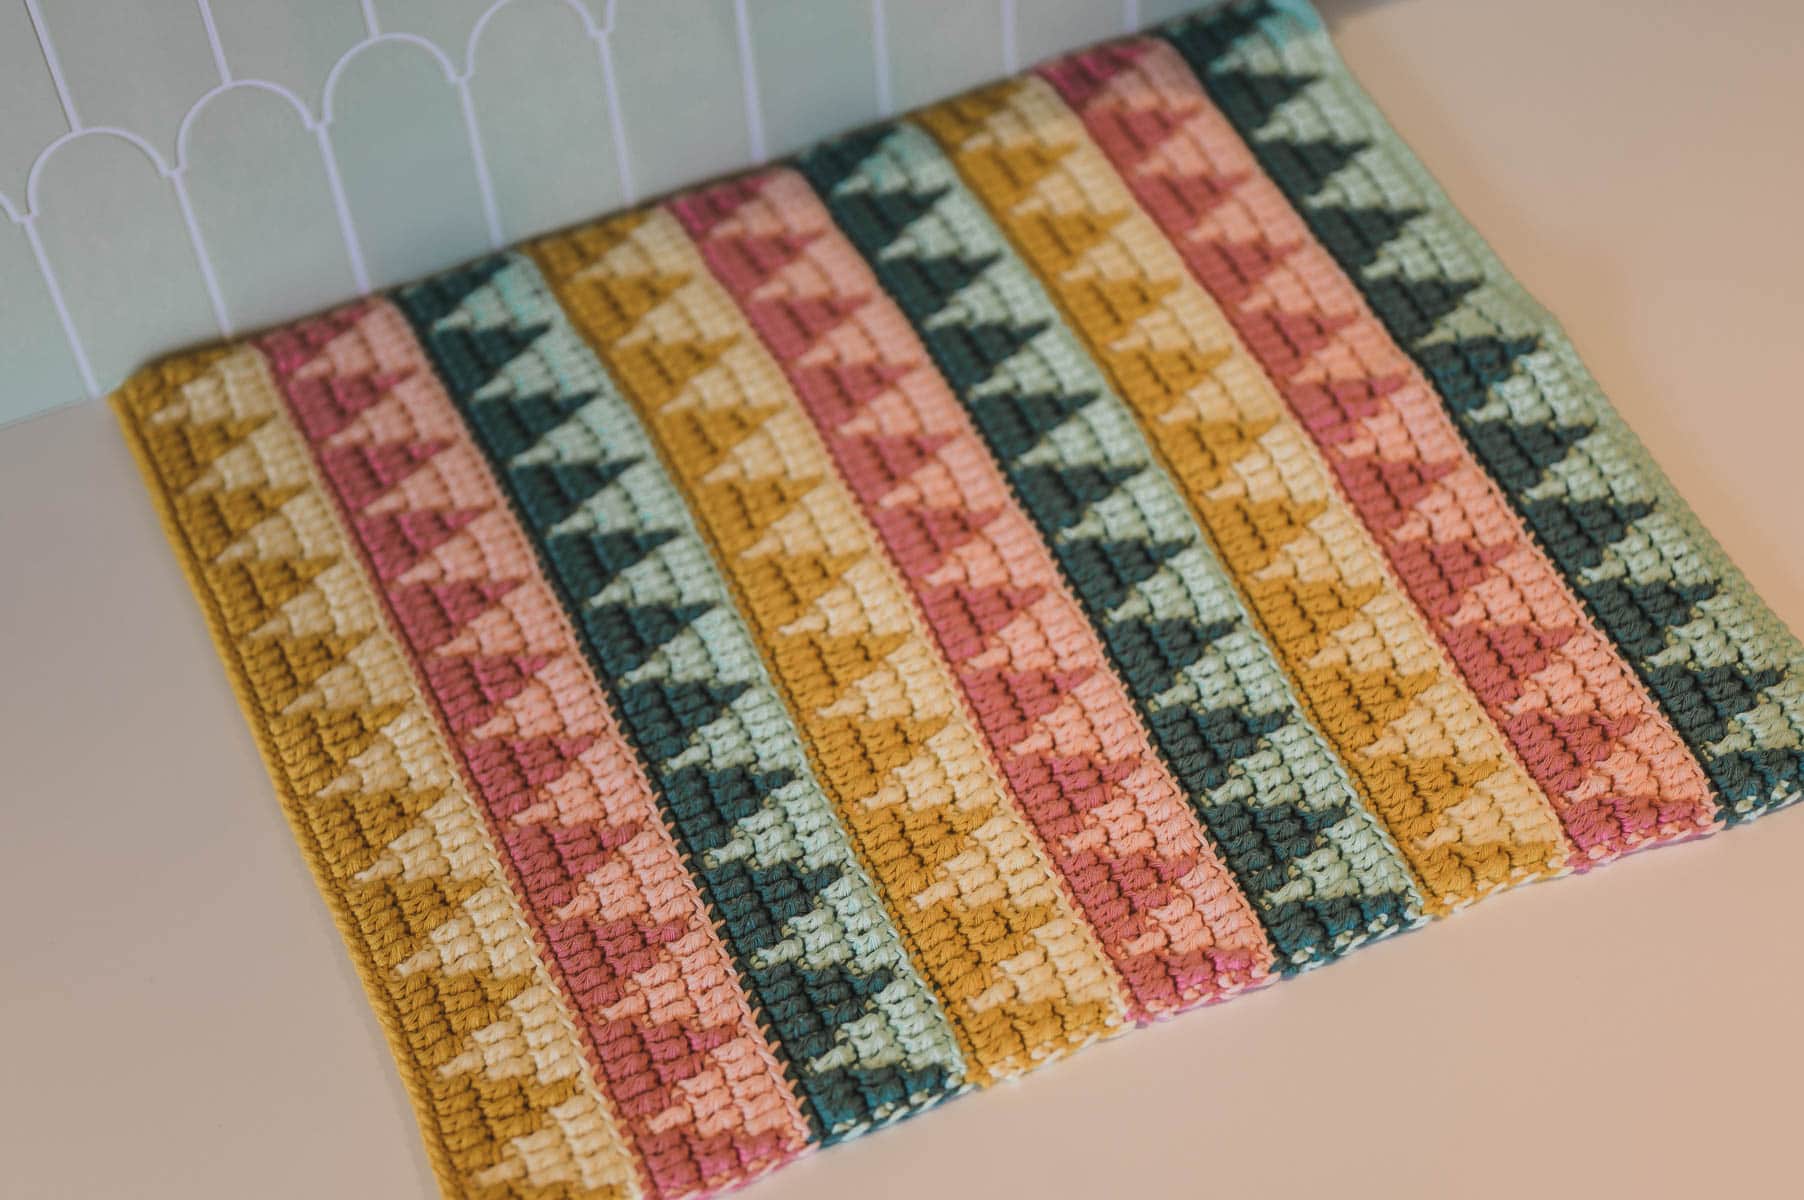
Say hello to your new mosaic crochet bath mat, a functional piece that pairs bold geometric patterns with everyday practicality.
Its plush, textured stitches help absorb moisture and deliver a comforting feel underfoot.
While the design might appear daunting initially, each stage is clearly outlined so you can tackle the mosaic sections with ease.
Indulge in a handmade bath accessory that brightens up your routine and brings a bit of artistry to your bathroom décor.
Find more: Bathroom Free Crochet Patterns.

Table of Contents

How to get this crochet pattern

This pattern is FREE to read right here on the blog ↓
Buy the printable PDF
Available in the Crochet Everyday Bliss membership
Pattern overview

How to crochet the Mosaic Crochet Bath Mat Pattern
The mosaic crochet bath math is crocheted in rows with the right side facing & using one color at a time.
You’ll crochet the overlay mosaic crochet technique. This typically creates lots of ends to weave in, but you can try crocheting over the yarn ends to avoid cutting the yarn.
The best thing is that you’ll only use one color at a time.

Would you like to save this?
We will email this pattern to you, so you can come back to it later.
Free, and you can unsubscribe any time.
If you like this crochet pattern, save it on Pinterest!

Helpful Tools & Tips
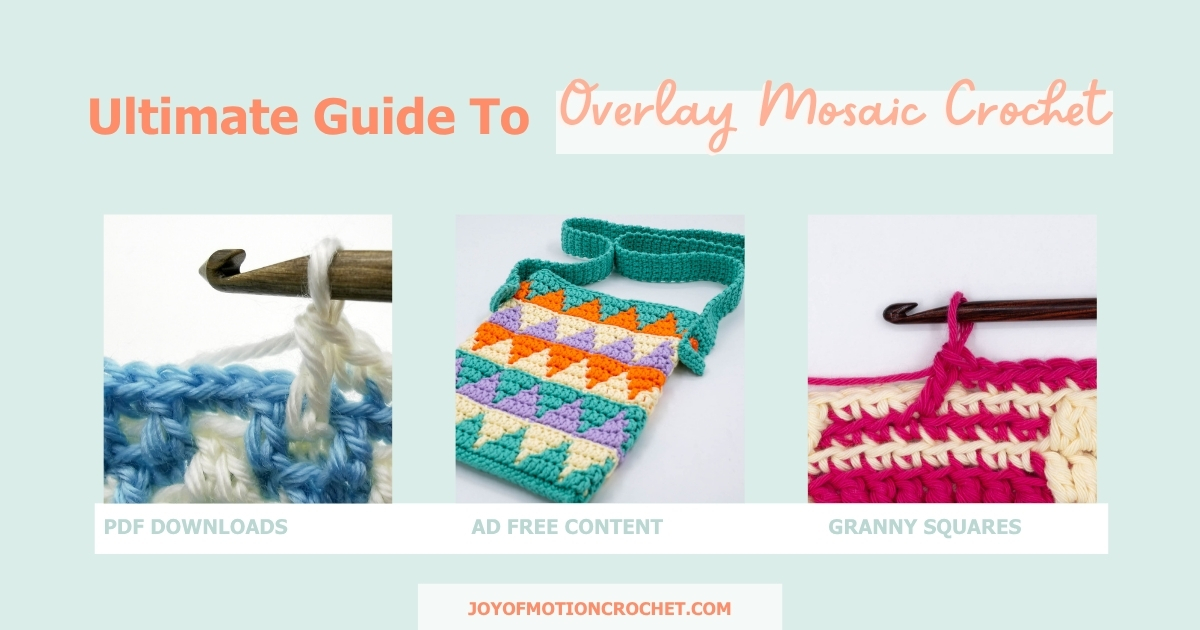
Get this pattern ad-free + 19 more in one bundle.
Not ready to crochet it yet?!

- Share about this crochet pattern on Instagram & Facebook using #joyofmotioncrochet.
- Save on Pinterest to make it later.

 About the Mosaic Crochet Bath Mat Pattern
The Mosaic Crochet Bath Mat pattern is a great way to include some color into your bathroom.
Pick your 6 favorite colors & create this amazing colorful crochet bath mat.
This is a great crochet pattern using the overlay mosaic crochet technique.
Project level: Easy
 Materials
Crochet Hook Size
Yarn
- Yarn
- Hobbii – Friends Cotton 8/8 in color in color Mustard 28 (CA), Pastel Yellow 21 (CB), Pink Berry Smoothie 54 (CC), Baby Pink 51 (CD), Eucalyptus 98 (CE), and Pastel Green 100 (CF)
- Weight
- 3 Light Yarn
- Fiber
- 100% cotton
Yarn amount needed:
| Color | Skeins |
|---|---|
| Color A (CA) | 1 |
| Color B (CB) | 1 |
| Color C (CC) | 1 |
| Color D (CD) | 1 |
| Color E (CE) | 1 |
| Color F (CF) | 1 |
| Total | 6 |
One skein is 50 grams · 75 meters · 82 yards.
Other Materials Needed
 Gauge
Measured over stitch pattern crocheted in rows:
14 stitches & 14 rows per 10 cm / 4”.
 Crochet Pattern Notes
- This crochet pattern is written in US terms.
- All measurements given are unblocked.
- Note that measurements are given as exact as possible. But crochet tension & technique might give variations in the result, that changes from person to person.
- Read pattern instructions carefully before beginning to make sure you understand everything. It might save you hours frogging your work & crocheting it again!
- Make a swatch that measures at least 10 x 10 cm / 4 x 4 inches using the stitch the gauge is given for. If your swatch matches the gauge, you’re good to go. If the gauge is wrong, you might need to change your hook. Go up in crochet hook size if your stitches are smaller & go down in crochet hook size if your stitches are bigger. Learn more about testing gauge.
- Check yarn info if you want to find an alternative or test your yarn against the gauge. Learn more about substituting yarn.
- This pattern is written for 1 size. Size adjustments are added under the heading “Sizes & Measurements”.
- At the end of each row, the stitch count is given in parenthesis.
 Sizes and Measurements

Width: 42 cm / 16.5 inches
Length: 50 cm / 19.7 inches
Size Adjustments
- To make the crochet bath mat wider, add or reduce by 6 stitches at a time.
- To make the crochet bath mat longer, add or reduce by 8 rows at a time to complete a full stitch pattern repeat before ending.
- Any adjustments will change the amount of yarn you’ll need.
 Abbreviations
- BLsc = back loop single crochet
- CA = color A
- CB = color B
- CC = contrasting color / color C
- CD = color D
- CE = color E
- CF = color F
- ch = chain
- Ldc = double crochet in the front loop 2 rows below
- rep = repeat
- sc = single crochet
- st = stitch(es)
We try our best to include all crochet abbreviations in the list above for the crochet pattern, but sometimes we may forget one or two.
Learn more about crochet abbreviations & find a complete list on our Crochet Abbreviations & Terms post.
 Techniques You Will Need

Crocheting in the Front and Back Loop
This means that you will not crochet through the whole stitch as usual. A typical stitch contains two loops. One in the front, nearest you, and another stitch in the back, furthest away from you. One is called the front loop (the one nearest you), the other one the back loop, the one furthest away from you.
These stitches are abbreviated with FL and BL in front of their regular abbreviation.
Mosaic Crochet
To crochet this pattern you will use the mosaic crochet technique, following these 3 simple rules:
- You will use color A & color B every other row.
- All single crochet stitches are worked in the back loop.
- All double crochet stitches (long double crochet/ Ldc) are worked 2 rounds below in the front loop & this front loop are always the same color as the one you’re working with.
Read the Mosaic Crochet Chart
To crochet this pattern you can choose to follow the mosaic crochet chart, following these rules:
- Read from the bottom up, from right to left.
- The yarn color for the round you are going to work are given to the left with letters A and B.
- The colors in the diagram itself shows how it will look, but don’t pay too much attention to it when working each round. Rather…
- Crochet single crochet for each empty box, and long double crochet for each box with an “X”.
Mosaic Crochet
You will use 1 color every other row for 8 rows, then swap to 2 other colors for the next 8 rows.
All rows are worked with the right side facing.
Optional & Recommended Mosaic Techniques
For this crochet pattern these 2 mosaic crochet techniques are recommended to make the best result possible.
Avoid Cutting Yarn
With overlay mosaic crochet, the standard is to cut yarn and fasten off at the end of each row. But you can avoid having too many yarn ends to weave in by following the instructions below.
- At the end of the row, fasten off by pulling the skein through the stitch loop.
- Lay the yarn you fastened off along the stitches.
- Pull up a loop of the other color through the first stitch on the row.
- Crochet the next row with the other color, working over both the stitch & the yarn you placed along the stitches.
- Adjust how tight the yarn strand you worked over is by stretching it width-wise before repeating the steps for the next row.
- This is best combined with the technique below.
Flat Surface At The Back
With overlay mosaic crochet you often get a textured surface at the back because some stitches are worked into the back loops, while others are worked into the front loop two rows below.
To get a flat surface at the back, follow these steps when working a Ldc:
- Insert crochet hook into back loop of text stitch and pull up a loop.
- Yarn over.
- Insert crochet hook into front loop 2 rows below and pull up a loop.
- Yarn over and pull through 3.
- Yarn over and pull through 2.

 Instructions for the Mosaic Crochet Bath Mat Pattern
With CA ch 64 st.
Row 1: Sc 1 in 2nd ch from hook and in each st across (=63 st).

Row 2 with CB: Sc 1 in 1st st, BLsc 1 in each st, sc 1 in last st, fasten off (=63 st).
Row 3 with CA: Sc 1 in 1st st, *Ldc 1 in the next 3 st, BLsc 1 in next st, Ldc 1 in the next 2 st*, repeat from *to* until you have 2 st left, Ldc 1 in next st, sc 1 in last st, fasten off (=63 st).
Row 4 with CB: Sc 1 in 1st st, *BLsc 1 in the next 3 st, Ldc 1 in next st, BLsc 1 in the next 2 st, repeat from *to* until you have 2 st left, BLsc 1 in next st, sc 1 in last st, fasten off (=63 st).
Row 5 with CA: Sc 1 in 1st st, *Ldc 1 in the next 2 st, BLsc 1 in the next 3 st, Ldc 1 in next st*, repeat from *to* until you have 2 st left, Ldc 1 in next st, sc 1 in last st, fasten off (=63 st).
Row 6 with CB: Sc 1 in 1st st, *BLsc 1 in the next 2 st, Ldc 1 in the next 3 st, BLsc 1 in next st*, repeat from *to* until you have 2 st left, BLsc 1 in next st, sc 1 in last st, fasten off (=63 st).
Row 7 with CA: Sc 1 in 1st st, *Ldc 1 in next st, BLsc 1 in the next 5 st*, repeat from *to* until you have 2 st left, Ldc 1 in next st, sc 1 in last st, fasten off (=63 st).
Row 8 with CB: Sc 1 in 1st st, *BLsc 1 in next st, Ldc 1 in the next 5 st*, repeat from *to* until you have 2 st left, BLsc 1 in next st, sc 1 in last st, fasten off (=63 st).
Row 9 with CC: Rep row 2.
Row 10 with CD: Rep row 2.
Row 11 with CC: Rep row 3.
Row 12 with CD: Rep row 4.
Row 13 with CC: Rep row 5.
Row 14 with CD: Rep row 6.
Row 15 with CC: Rep row 7.
Row 16 with CD: Rep row 8.
Row 17-24: Rep row 9-16 using color CE and CF.
Row 25-32: Rep row 9-16 using color CA and CB.
Row 33-40: Rep row 9-16 using color CC and CD.
Row 41-48: Rep row 9-16 using color CE and CF.
Row 49-56: Rep row 9-16 using color CA and CB.
Row 57-64: Rep row 9-16 using color CC and CD.
Row 65-72: Rep row 9-16 using color CE and CF.
Row 73: Ch 1, sc 1 in each st from last row (=63 st).
Fasten off & cut yarn.
 Finishing
Fasten threads & weave in ends.
If you want your mat to be less slippery, add some sock stop.

Share & Worth Noting

Thank you for sharing my FREE patterns & tutorials. When you do, you support me & the blog, which makes it possible to continue sharing free content with you.
Not all content on this blog website is free, but the more you share, the more free content I will be able to share. Note that all premium content are ad free.
My crochet patterns can be used to sell handmade pieces. You are required to credit Joy of Motion/Janne Kleivset as the designer by linking back to My website: https://joyofmotioncrochet.com. You can not use my pictures when selling your handmade items. Finally, you can not resell, reprint or share any parts of my patterns as your own.