
In this tutorial I will teach you how to block crochet projects.
Crochet is a fulfilling hobby that allows you to create all sorts of wonderful things, from cozy blankets to stylish garments and accessories.
However, the process of making crochet projects does not necessarily end with the last stitch. To achieve a clean and professional finish, it is important to block some of your crochet projects.
Blocking refers to the process of shaping your crochet project after weaving in the ends. This essential finishing technique helps you achieve perfect stitch definition, even tension and a professional-looking finish.
In this blog post, we will explore all aspects of blocking crochet projects and provide a step-by-step guide on how to achieve perfectly finished projects.
I’ll cover everything from what blocking is and why it’s important, to the materials and methods needed for successful blocking.
So whether you’re new to crochet or an experienced crocheter looking to up your game, read on for our essential guide to blocking crochet.

Would you like to save this?
What is Blocking In Crochet?
Blocking is an essential finishing technique for crochet projects that helps ensure that they have a neat and even appearance.
Blocking crochet refers to the process of shaping and manipulating your crochet project into its final form before use or display. It involves wetting or steaming your project, then allowing it to dry in the desired shape to help shape stitches, even out tension, correct crochet gauge issues and enhance drape.
The purpose of blocking is threefold:
- It can help give structure and evens out stitches by shaping the final piece according to its intended form (e.g., flatness for blankets, curvature for crochet hats).
- Blocking can be used as a tool for relaxing fibers by removing kinks from yarns that may have become distorted during the making process.
- It can bring out lace stitches or other motifs or embellishments that may not have been visible before blocking.
Should You Block Every Crochet Project?
Whether or not you should block every crochet project depends on several factors such as the type of fiber used in making the project as well as its intended use after completion.
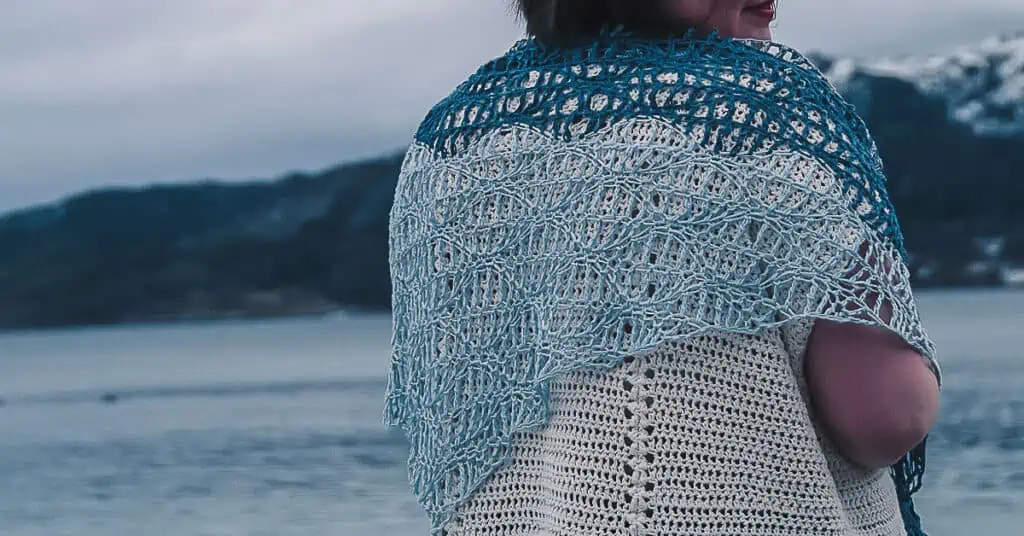
Not every crochet project requires blocking. However, if you’re creating something with a larger stitch pattern like lacework shawls or blankets where the corners may not be even you should definitely consider blocking as an essential step to achieve more professional-looking outcomes.
For example, if you are making an amigurumi toy with cotton yarn intended for stuffing without needing drape, then blocking may not be necessary. But if working with natural fibers like silk or wool then blocking will help even out irregularities caused by inconsistent tension between stitches giving an overall professional finish.
Factors to consider which projects require blocking may include the yarn used, design of project and whether or not it needs to hold its shape upon wear, such as in crochet sweaters or shawls.
Should You Block Swatches?
Yes! Swatching is a crucial step when following crochet patterns because it allows you to see how different stitch patterns and yarns look when worked up. Blocking swatches will give you a more accurate representation of how your finished item might look.
It’s also smart to block your swatch before measuring gauge on a pattern which will help you determine if the pattern is the same size as indicated. This means that after washing or blocking, measure again, so you know what adjustments are needed before starting with actual project work.
Blocking swatches is a recommended practice as it will give you a more accurate gauge reading.

When To Block Crochet Projects
The best time to block your crochet project depends on what you’re making and how you like the finished product. It could be anything; a swatch, a scarf, a garment, granny squares or a different crochet project.
Some crocheters prefer blocking before they’ve sewn in their ends while others like completing all finishing steps before blocking.
If you block crochet projects as the last step in finishing. Weave in all loose ends to avoid any disruption after shaping.
Materials Used for Blocking
The materials needed for blocking vary depending on the method used but can include items such as:
When selecting materials consider things like yarn fiber content, size and shape of item being blocked.

More About Special Materials Used for Blocking
Blocking Mats: These are foam mats covered with grid-lines that serves as an excellent surface for pinning out projects with ease. Some mats have interlocking edges allowing them to expand if needed while accommodating larger items.
Blocking Wires: These are thin wire rods provide greater support when shaping delicate lacework shawls or stockings into curved shapes. These can be better than pins alone and pins might cause stress marks under tension points where they’re not necessary!
Blocking Pins: These come in either T-shape plastic heads or metal heads (rust-resistant), designed especially for pinning out crocheted fabrics onto board surfaces when stretching them into precise geometric shapes without disturbing stitch definition.
Different Methods To Block Crochet Projects
There are different methods of blocking depending on your preference. The process of blocking also vary based on the method being used.
Wet blocking requires soaking your project in water followed by gentle squeezing out excess moisture without wringing or twisting. Then even out any creases in the crochet fabric before pinning it flat on your preferred surface until completely dry overnight or longer depending on fiber content.
Spritz blocking or spray blocking involves pinning down the finished crochet project to a blocking mat to create straight edges and misting water over it using a spray bottle, before letting it dry naturally.
Steam blocking uses heat from steam iron set at appropriate temperature for fiber type being worked with (cotton/wool etc.) Then use gentle pressure applied uniformly across fabric while adjusting until satisfactory results are achieved.
Yarn Fibers And Blocking
Different yarn fibers benefits differently with the blocking techniques. For example, natural fibers like wool works well with all techniques, while cotton and acrylic does benefit with specific techniques.
That doesn’t mean you can’t use any technique for any yarn, but you should be careful & keep certain aspects in mind.
Yarn With Animal Fibers & Wool
Wool yarns with animal fibers like from sheep, mohair yarns, alpaca yarns and so on generally respond well to any crochet blocking method.
Keep in mind that these types of yarn will felt if the water is too hot.
Cotton and Linen Yarn
Cotton and linen is more hardy yarn fibers and can tolerate washing better. Wet blocking will give great results.
Try the different blocking methods with the swatch to see what result you like the best.
Acrylic Yarn
Be careful with heat when it comes to the acrylic yarns. The fibers in the yarn can break with too much heat, once it breaks it’s no way to fix it. Make sure to check the yarn label to see what temperature it tolerates.
How to Block Your Crochet Project
In order to block your crochet project successfully following these step-by-step guides for the different crochet blocking techniques (these can also be used for knit projects).
How To Spray Block Your Crochet Projects
Step 1: Pin and shape item on a blocking mat on a flat surface.
Step 2: Dampen crocheted piece using spray bottle filled with room temperature or lukewarm water.

Step 3: Let dry while pinned to the blocking mats.

How to Wet Block Crochet Projects
Step 1: Fill basing with lukewarm water and add a wool wash or mild detergent if desired.
Step 2: Soak your crochet piece for upto 30 minutes. Clean your finished crochet item and rinse out soap.
Step 3: Squeeze excess water out of your project before gently rolling it up inside a towel and pressing down lightly to remove excess water.
Step 4: Arrange your damp crocheted project onto a blocking surface such as blocking mats or towels, making sure that you position seams correctly and adjust for any uneven areas or curling edges
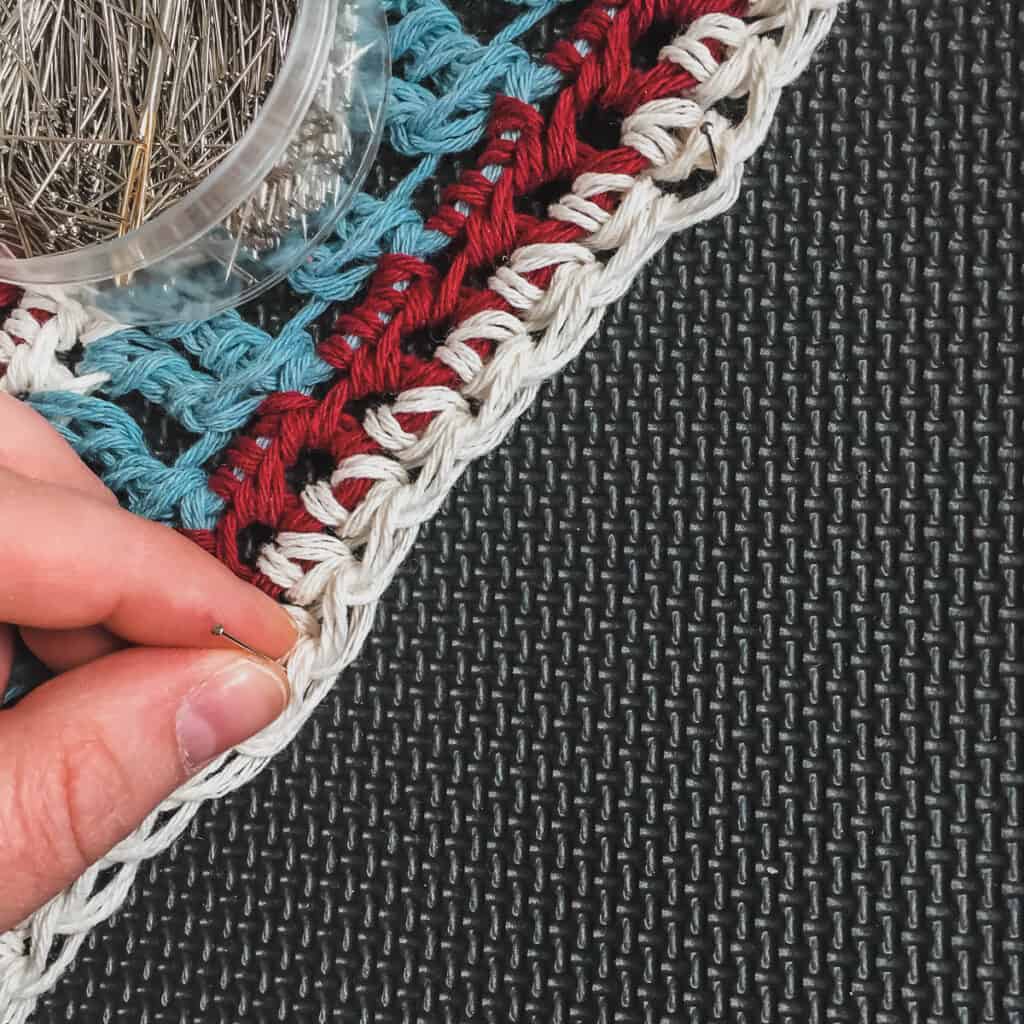
Step 5: Pin your project to its desired shape using blocking pins into place every few inches apart around edges and then every inch along lacy stitches. Be sure not to stretch too hard which will distort fabric but also not too lightly that won’t alter sizing.
Step 6: Leave the pinned-out crochet piece until completely dry (usually overnight) before unpinning and gently reshaping if needed then sew any final embellishments or trimmings onto completed work!

How To Steam Block Crochet Projects
You can use steam from an iron or a garment steamer to block crochet projects.
- Pin the item onto a blocking board.
- Apply steam from a iron to get a small amount of moisture into your crochet fabric. Make sure to control the heat so it doesn’t get too hot & keep a distance. The steam relaxes the fibers to get a great blocking result.
- Let the crochet item lay on the blocking board during the drying process.
Using Pins and a Blocking Board
When blocking your crochet project, it’s essential to use rust-proof pins (like T-pins) and a blocking board.
Ensure that your blocking board is clean, free of debris or rough surfaces which can snag yarn fibers. Store in dry place free from moisture.

Is Blocking Permanent?
Blocking can last a long time but it’s not permanent.
Over time, depending on how much use a finished crochet item gets, it may require another round of blocking.
That is also great, because knowing it can be undone with a bit of water or steam if needed, makes it less stressful to try blocking crochet projects for the first time.
Ready to Finish Off Your Crochet Projects?
Knowing how to block crochet is an essential technique every crocheter needs in order to achieve professional-looking results with their projects.
Whether you’re crocheting blankets, crochet garments, or accessories when, how, and which projects require blocking can help you achieve better results with your crochet patterns.
With proper care and attention to detail, you too can create beautiful items with a professional finish using different types of blocking techniques!
After following my guide on how to block crochet fabric featuring tips for wet blocking, steam blocking, and spray blocking; using pins and blocking mats effectively with best practice methods, you’ll be sure to end up with beautiful crochet creations that are sure to impress!

