
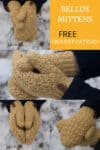
It’s another day & another opportunity to share a FREE crochet pattern, the crochet Bellus Mittens made for winter crochet.
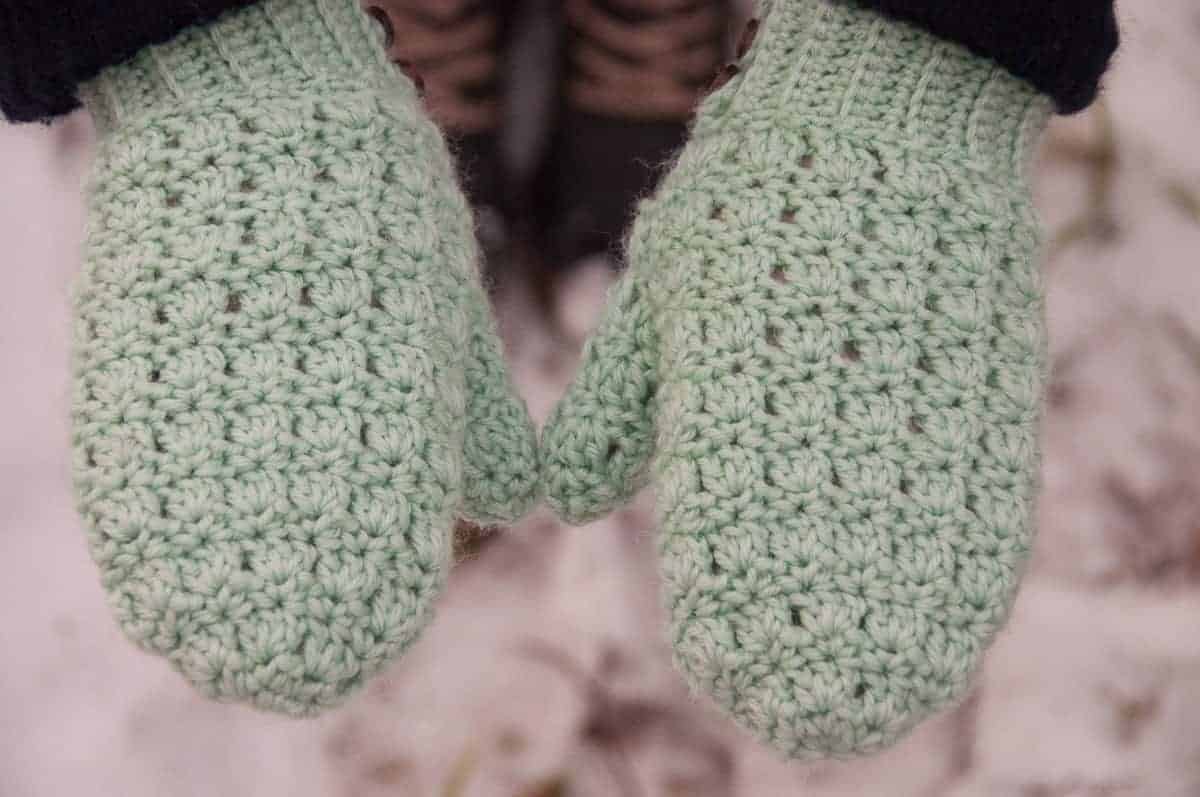
These crochet mittens offers lot’s of beautiful texture & is a lovely pair of crochet mittens.
The stitch pattern is quite easy, as I’m happy say it’s only basic crochet stitches.
8+ Mittens crochet pattern collection.
Would you like to save this?
How to get this crochet pattern:
Option 1: Scroll down to see the FREE Crochet Pattern ⬇️
Option 2: Purchase the printable PDF:
Option 3: Get the printable version inside the crochet pattern membership.
Option 4: Most of my crochet patterns can also be found on Ravelry, Love Crafts and Etsy.
The Yarn
To crochet the Bellus Mittens I used scrap yarn, unfortunately I couldn’t remember the yarn name or brand. I think it’s a really good thing to use scrap yarn when you crochet & you can find scrap yarn crochet ideas here.
Because of the fact that I didn’t know the yarn brand, I’ve searched for a substitute that works 100 % for this pattern. The final look might be different, but you could also use your own scrap yarn.
If you’d like a substitute, you should try Rowan Felted Tweed Aran.
Winter Crochet Pattern Bundle
Like this? Get the ad-free version + 19 other crochet patterns with the “Winter Crochet Pattern Bundle”.
Learn more about the Winter Pattern Bundle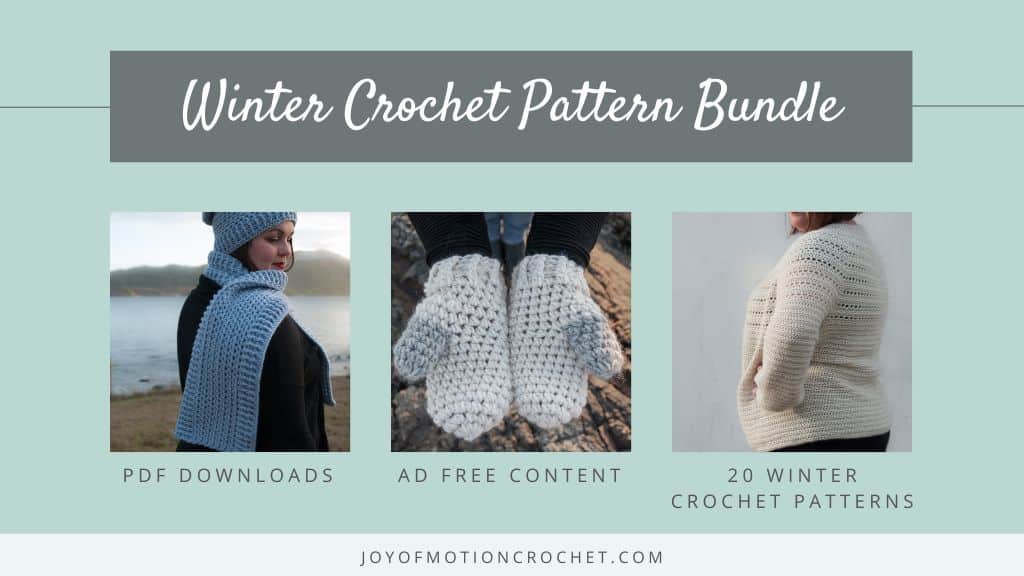
AN AMAZING WINTER CROCHET PROJECT
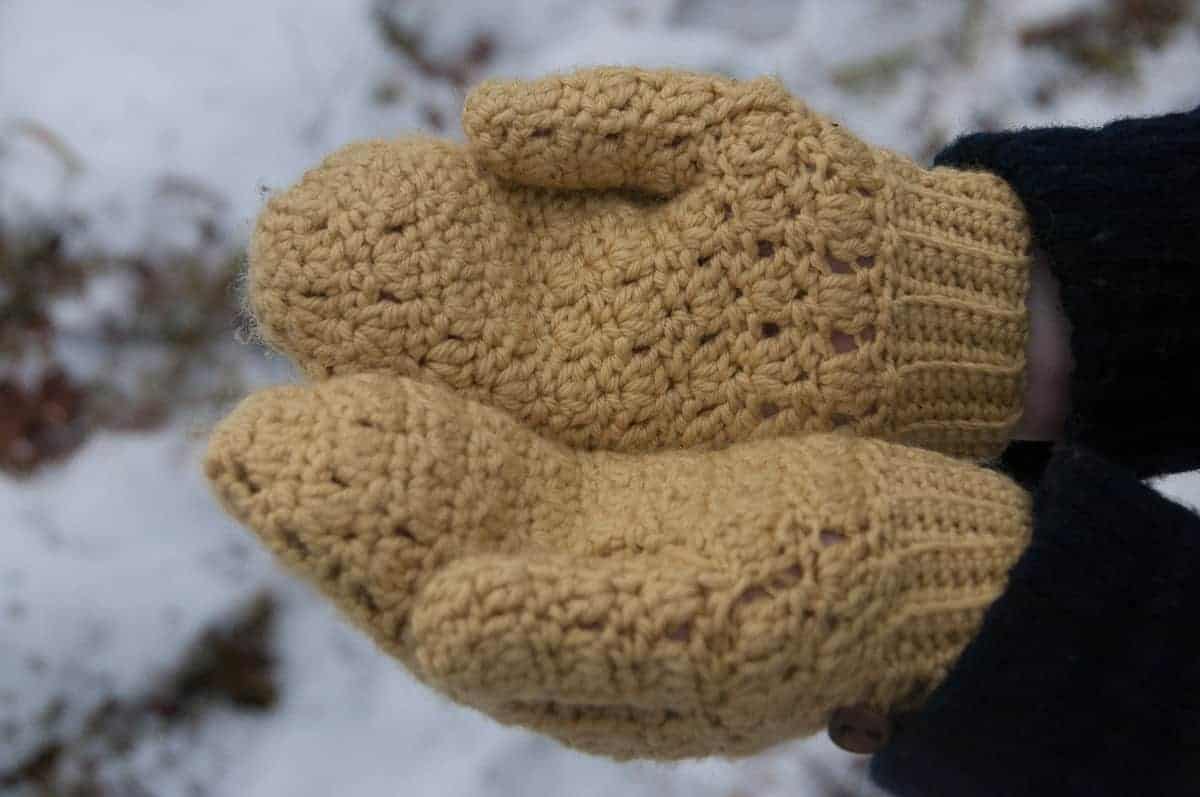
The crochet Bellus Mittens is designed with winter in mind. It’s also made with Christmas in mind.
The crochet mittens is definitely a great gift for Christmas. First of all it doesn’t take too long to crochet, but still it has all the details that makes it an interesting gift.
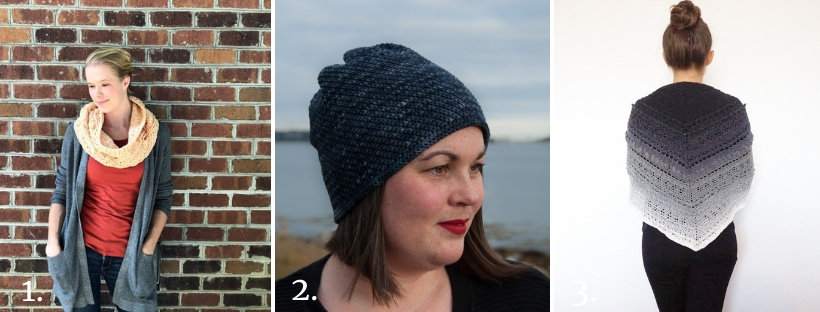
Since you like the Crochet Bellus Mittens, these might interest you too?

How Long Does It Take To Crochet That?
How long it takes to crochet something varies depending on your skill & how fast you crochet. But that isn’t a helpful answer is it?
Well, I’ve developed a yarn calculator to help you get the answer to this question.
It will help you calculate exactly how much time you’ll spend crocheting a project.
All you need to know is how much yarn you will use on the project in either meters, yards or skeins. Then crochet your test square & time it.
Calculate how long it takes to crochet that.
Buy the Bellus Mittens Crochet Pattern
Get the downloadable PDF crochet pattern for this crochet pattern, or join the Crochet Everyday Bliss Membership and get access to download ALL crochet patterns and more
CROCHET BELLUS MITTENS – THE FREE CROCHET PATTERN
About The Pattern
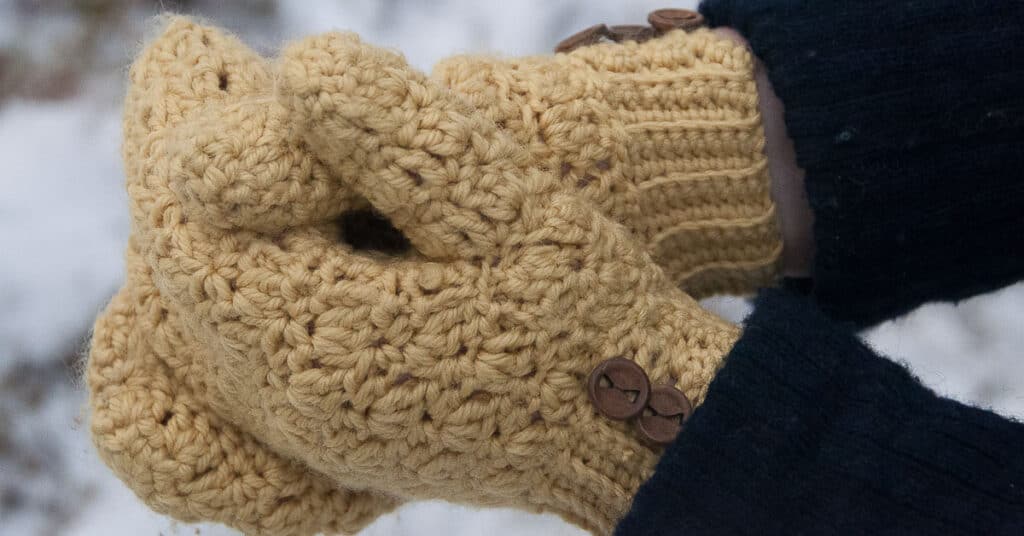
The Bellus Mittens crochet pattern for a beautiful pair of mittens. They have some beautiful stitch details & looks super lovely.
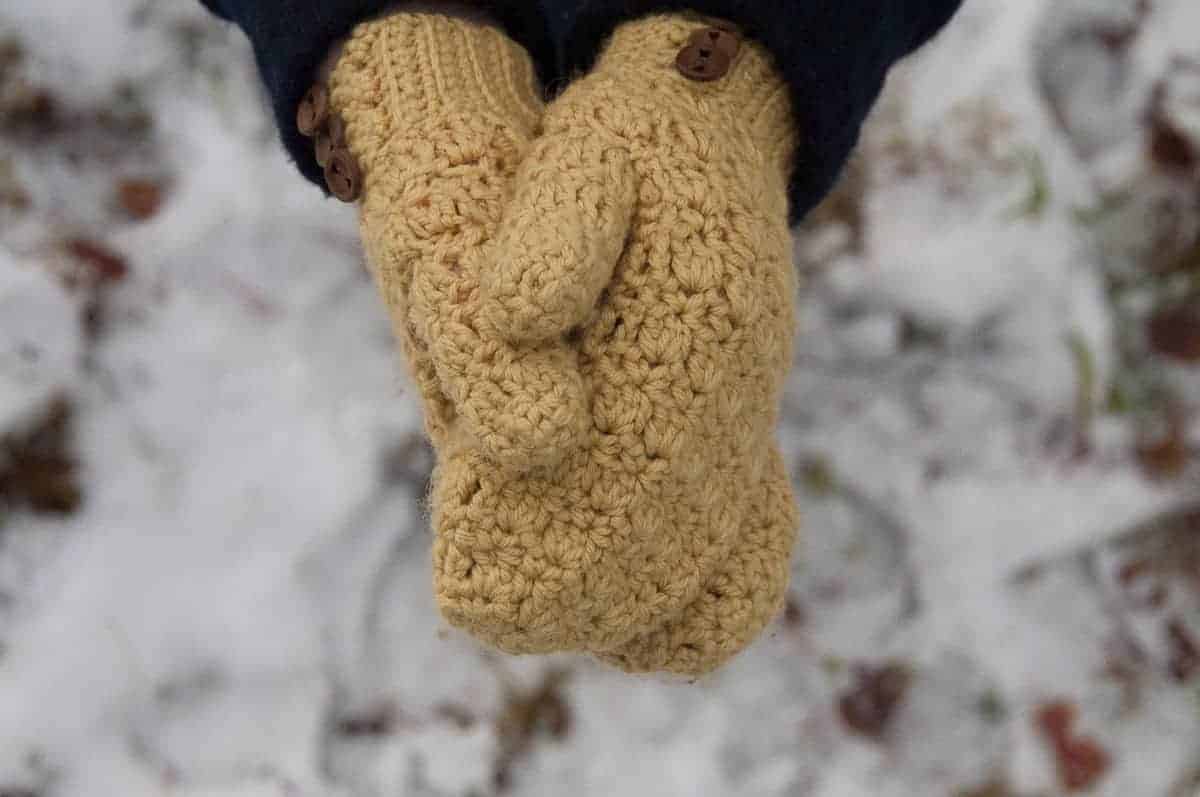
Put them to use & keep yourself warm throughout fall & winter season. Wear these mittens for a walk, to go skiing or snowboarding. Give them your own look with your choice of color & buttons.

Project Level
WHAT’S YOUR CROCHET SKILL LEVEL?
Take the Quiz
Get helpful tips for your next crochet project & increase your skills!
Materials Needed
Crochet Hook
Hook I used: Wave Crochet Hooks from Knitpro
Yarn
Yarn used:
Scrap yarn, by unknown brand. Use what you have for this headband.
However comparable yarn is:
Rowan – Felted Tweed Aran
Yarn amount used:
2-3 skeins: 100-150 g /174-261 m / 190-285 yards
Yarn characteristics:
- 4 medium yarn, Aran yarn.
Other Materials Needed
- Needle, find one here (if you don’t already have one)!
- Scissors
- Measuring tape
Gauge
Measured with woodland stitch combination crocheted in rows:
18 stitches & 11 rows per 10 cm / 4”.
Notes
- This crochet pattern is written in US terms.
- All measurements given are unblocked.
- Note that measurements are given as exact as possible. But crochet tension & technique might give variations in the result, that changes from person to person.
- Read pattern instructions carefully before beginning to make sure you understand everything. It might save you hours frogging your work & crocheting it again!
- Make a swatch that measure at least 10 x 10 cm / 4 x 4 inches using the stitch the gauge is given for. If your swatch matches the gauge, you’re good to go. If the gauge is wrong, you might need to change your hook. Go up in crochet hook size if your stitches are smaller & go down in crochet hook size if your stitches are bigger. Learn more about testing gauge.
- Check yarn info if you want to find an alternative or test your yarn against the gauge. Learn more about substituting yarn.
- This pattern is written for 1 size, however size adjustments are suggested under the heading “Size & Measurements”.
Size & Measurements
Length: 22,5 cm / 8.8 inches
Circumference above thumb: 20 cm / 7.8 inches

Abbreviations
- BL = back loop
- ch = chain(s)
- dc = double crochet
- hdc = half double crochet
- prev = previous
- sc = single crochet
- sk = skip(ped)
- st = stitch (es)
We try our best to include all crochet abbreviations in the list above for the crochet pattern, but sometimes we may forget one or two.
Learn more about crochet abbreviations & find a complete list on our Crochet Abbreviations & Terms post.
Stitches You Will Need
You will need to use the “Woodland stitch” as well as chains, single crochet stitches & slip stitches.
Woodland stitch:
See tutorial for the stitch here: https://joyofmotioncrochet.com/how-to-crochet-the-woodland-stitch/.
Written description:
Row 1 (preparation row): Ch 2, *sc in next st, ch 2, sc in same st, skip two st*, repeat from to* until end of row, end with hdc in last st, turn.
Row 2: Ch 3, *dc 3 st in ch loop* repeat until end of row, end with dc in last st, turn.
Row 3: Ch 2, *sc in middle dc of 3 from last row, ch 2, sc in same st*, repeat until end of row, end with hdc, turn.
Repeat row 2-3.
Crochet Bellus Mittens Pattern Instructions
Make 2.
Ch 3, sl st in 1st ch.
Round 1: Ch 1, sc 6 st, sl st in 1st ch (=8 st).
Round 2: Ch 2 (counts as 1st st), *sc in next st, ch 2, sc in same st*, *repeat 6 times, sl st in 2nd ch from the beginning of the round (=26 st).
Round 3: Follow instructions for row 2 of “Woodland” pattern (=20 st).
Round 4: Follow instructions for row 3 in “Woodland” pattern, but increase the number of ch loops like this: Make 2 in number 1, 3, 4, 6. Make just 1 in number 2 and 5 (=42 st).
Round 5: Follow instructions for row 2 in “Woodland” pattern (=32 st).
Round 6: Follow instructions for row 3 in “Woodland” pattern, but increase the number of ch loops like this: Make 2 in number 3 and 8. Make only 1 in number 1-2, 4-7 and 9-10 (=50 st).
Round 7: Follow instructions for row 2 in “Woodland” pattern (=38 st).
Round 8-15: Follow instructions for row 3 & 2 in “Woodland” pattern (=50 st for repeats of round 2/=38 st for repeats of round 3).
*Increase/decrease the number of rows to adjust mitten size here.
For the following round, you will make the left & right mittens in two different ways:
Left mitten:
Round 16: Ch 9 st, sl st between 2nd & 3rd pattern group. Cont with row 3 of “Woodland pattern”, end with sl st in 1st ch (=50 st).
Right mitten:
Round 16: Follow instructions for row 3 “Woodland pattern”, sl st between third last & second last pattern group, ch 9 st, sl st in 2nd ch from beginning of the round (=50 st).
Both mittens:
Round 17: Follow instructions for Row 2 in “Woodland” pattern. Make 3 new dc groups evenly in the ch 9 from last round (=41 st).
Round 18: Follow instructions for Row 3 in “Woodland” pattern, but decrease from the 3 new pattern groups to 2 pattern groups. Do this by making the loops in the 3rd st of the first pattern group & the 1st st of the 3rd pattern group (=50 st).
Round 19: Follow instructions for Row 2 in “Woodland” pattern (=38 st).
Edging:
Will be made in two different ways for the left & right mitten.
Left mitten:
Continue without fastening threads.
Row 1: Ch 6 st, sc 1 in 1st ch,* ch 8, sc in 3rd ch*, *repeat 2 times, ch 3, turn.
Row 2: sc 1 in 2nd ch from hook, sc 1 in next st, sc 1 into chain loop, *sc 1 in the next 2 chains, sc 1 into chain loop”, repeat from *to* once. Sl st 2 into mitten in “next st, skip one st”.
Row 3: Ch 1, sc in BL of next 8 st, sl st in the next st (along the bottom of the mitten), skip one st, sl st in next st (along the bottom of the mitten, turn.
Row 4-end: Ch 1, sc in BL of 3rd st from hook (=skip the 2 sl st from prev row), sc in BL of the next 7 st, sc in ch from prev row, turn. Repeat rows 3-4 around the mitten.
Fasten off & cut yarn.
Right mitten:
Continue without fastening threads.
Ch 10 st, turn.
Row 1: Sc in 3rd ch from hook, sc in next 8 st. Sl st in the next st (along the bottom of the mitten), skip one st, sl st in next st (along the bottom of the mitten, turn.
Row 2: Ch 1, sc in BL of 3rd st from hook (=skip the 2 sl st from prev row), sc in BL of the next 7 st, sc in ch from prev row, turn.
Row 3: Ch 1, sc in BL of next 8 st, sl st in the next st (along the bottom of the mitten), skip one st, sl st in next st (along the bottom of the mitten, turn.
Row 4-end: Repeat rows 2-3 around the mitten.
Final row: Sc 1, ch 5, sc 4, ch 5, sc 4, ch 5, sc 2.
Fasten off & cut yarn.
Thumbs:
Round 1: Sl st in the inner side of the thumbhole. Ch 2 *sc in middle dc from last round, ch 2, sc in same st*, *repeat 2 times. Sl st in the outer side of the thumbhole. *sc in middle dc from last round, ch 2, sc in same stitch*, *repeat 2 times. Sl st in ch 2 from the beginning of the round.
Round 2+4+6: Ch 3, *dc 3 st in ch loop*, *repeat 2 times, dc in sl st from last round, *dc 3 st in ch loop*, sl st in ch 3 from the beginning of the round.
Round 3+5+7: Ch 2 *sc in middle dc from last round, ch 2, sc in same st*, *repeat 2 times. Sl st in sc from last row. *sc in middle dc from last round, ch 2, sc in same st*, *repeat 2 times. Sl st in ch 2 from the beginning of the round.
Round 8: Draw up a loop from all loops & sl st. Pull yarn through all loops.
Fasten off & cut yarn.
Finishing
Fasten threads & weave in ends.
Attach buttons to the ribbing.
Share & Worth Noting
Thank you for sharing my FREE patterns & tutorials. When you do, you support me & the blog, which makes it possible to continue sharing free content with you.
Not all content on this blog website is free, but the more you share, the more free content I will be able to share. Note that all premium content are ad free.
My crochet patterns can be used to sell handmade pieces. You are required to credit Joy of Motion/Janne Kleivset as the designer by linking back to My website: https://joyofmotioncrochet.com. You can not use my pictures when selling your handmade items. Finally, you can not resell, reprint or share any parts of my patterns as your own.

