
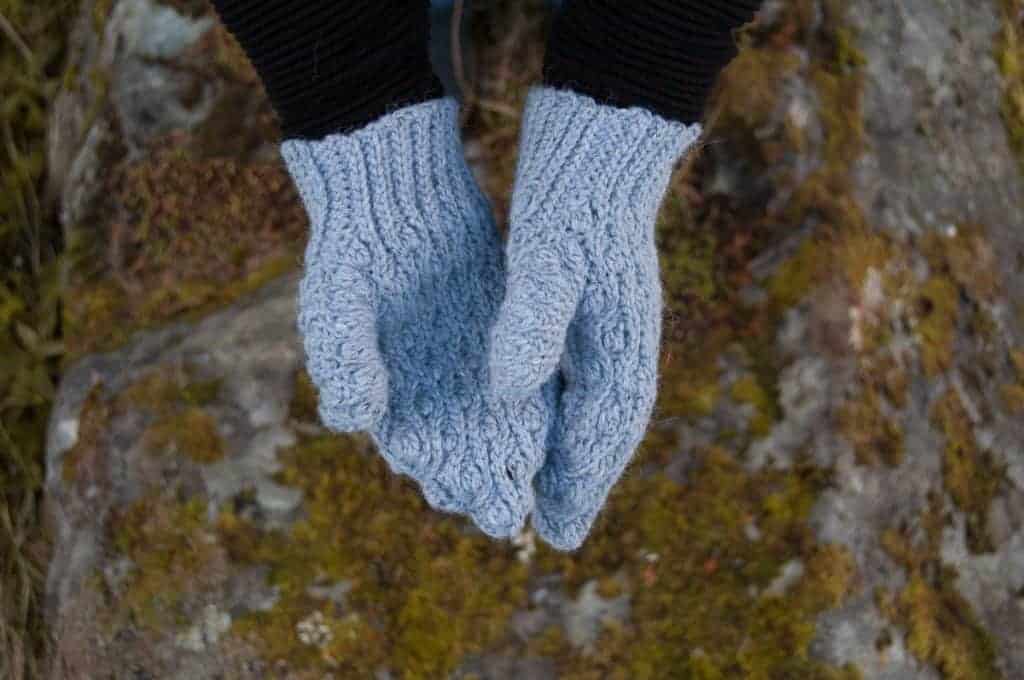
You’re going to love the crochet Mitis mittens. These are really beautiful textured crochet mittens, with amazing stitch details.
These mittens are crocheted sideways, which makes for these really soft & comfortable mittens.
Find more: Mittens FREE Crochet Patterns.

Table of Contents

How to Get This Crochet Pattern

This pattern is FREE to read right here on the blog ↓
Buy the Printable PDF
Available in the Membership
Pattern Overview

Would you like to save this?
We will email this pattern to you, so you can come back to it later.
Free, and you can unsubscribe any time.
If you like this crochet pattern, save it on Pinterest!

The Perfect Christmas Gift Crochet Project
The crochet Mitis Mittens are definitely a great Chrismas gift idea.
I especially think it’s a great gift because of how delicate the stitches look.

Helpful Tools & Tips
Buy the Crochet Mitis Mittens
Get the ad-free PDF below. Or become a member: Bliss All Access gives you every pattern, ad-free, with the PDFs to keep from $11.58 a month.
Crochet Pattern
Mitis Mittens Crochet Pattern
$5.00 USD
- Skill Level: Intermediate
- Custom Print: Color or black and white, with or without photos
- Instant Download: Ad-free PDF
Secure checkout by Shopify, right here
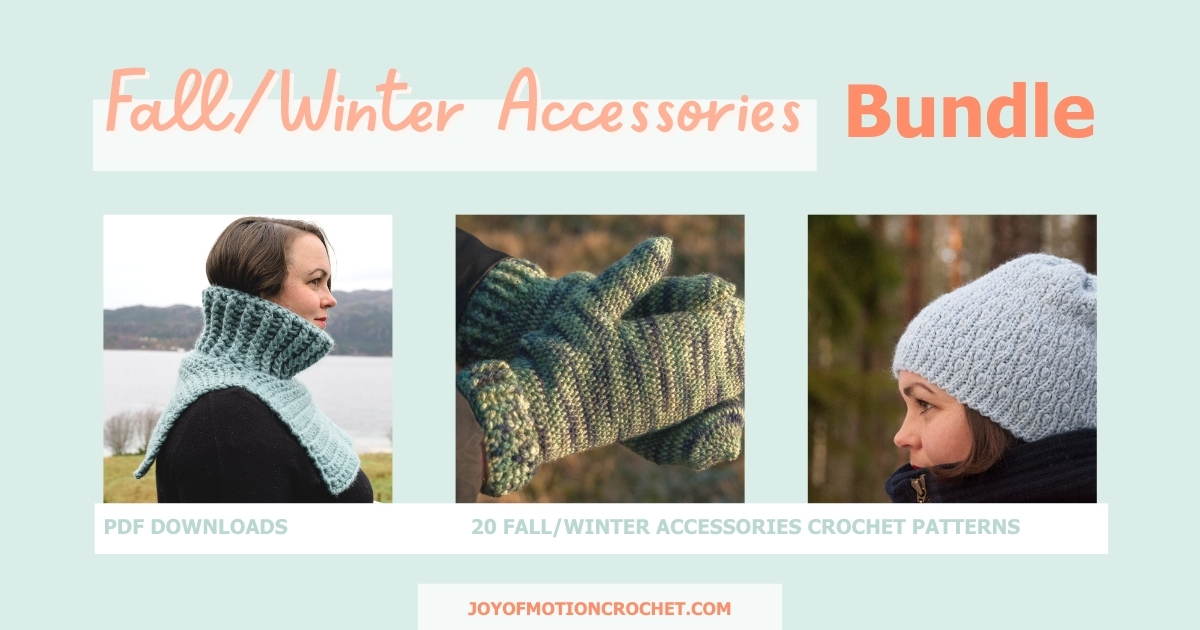
Get this pattern ad-free + 19 more in one bundle.
Not Ready to Crochet it Yet?!

- Share about this crochet pattern on Instagram & Facebook using #joyofmotioncrochet.
- Save on Pinterest to make it later.
 About the Crochet Mitis Mittens
The Mitis mittens crochet pattern are some really warm & lovely mittens that is just perfect for winter. It’s originally designed with warm wool yarn. It stitches up quickly because the stitch pattern repeats. Choose your favorite color & you’ll have a pair of mittens that fits your style.
Be sure to see if the Mitis shawl & Mitis Hat also is something you’d like.
Project level: Intermediate

 Materials
Crochet Hook Size
Yarn
- Yarn
- Rowan – Felted Tweed Aran
- Weight
- 4 Medium Yarn
- Fiber
- 50% wool, 25% alpaca, 25% viscose
Yarn amount needed:
<3 skeins · <150 grams · <261 meters · <285 yards
One skein is 50 grams · 87 meters · 95 yards.
Other Materials Needed
 Gauge
Measured over stitch combination stitches crocheted in rows:
19 stitches & 20 rows per 10 cm / 4".

 Crochet Pattern Notes
- This crochet pattern is written in US terms.
- All measurements given are unblocked.
- Note that measurements are given as exact as possible. But crochet tension & technique might give variations in the result, that changes from person to person.
- Read pattern instructions carefully before beginning to make sure you understand everything. It might save you hours frogging your work & crocheting it again!
- Make a swatch that measures at least 10 x 10 cm / 4 x 4 inches using the stitch the gauge is given for. If your swatch matches the gauge, you’re good to go. If the gauge is wrong, you might need to change your hook. Go up in crochet hook size if your stitches are smaller & go down in crochet hook size if your stitches are bigger. Learn more about testing gauge.
- Check yarn info if you want to find an alternative or test your yarn against the gauge. Learn more about substituting yarn.
- This pattern is written for 1 size. Size adjustments are added under the heading “Sizes & Measurements”.
- At the end of each row, the stitch count is given in parenthesis.
 Sizes and Measurements

Length wrist to fingertip: 24 cm / 9.4 inches
Length fingertip (measured at the middle) to height of thumb-hole: 13 cm / 5.1 inch
Width around around fingers (forefinger to pinkie): 10 cm / 3.9 inch
Length can be customized by editing start stitches in 2 ways:
- Add/reduce the number of stitches you’d like to make ribbing part longer/shorter. Stitch count in original size 10 stitches.
- Add/reduce the number of stitches you’d like to make the rest of the mittens longer/shorter. Starting stitch count in original size 29 st. Add/ reduce by 4 stitches at a time.
Width can be customized by adding/reducing the number of rows made, suggestions*:
- Make an extra row/less on each side when the stitch count is 39 = 4 rows added/reduced.
- Make an extra row/less in the middle on each side when the stitch count is 47 = 2 rows added/reduced.
Ribbing can be customized by editing sc/sl st:
- Adjust how many rows you do sl st or sc for the final 10 stitches to adjust how tight the ribbing turns out.
Thumb length adjustment:
- Make an extra rounds/less rounds to adjust thumb length.
Thumb width adjustment:
- Add/reduce the number of stitches for the thumb. It’s best to add/reduce stitches in the back, where you do just slip stitches.
*Adding or reducing rows for the main part will shift where you’ll make berries or slip stitches. To do this make sure you understand how the berries & slip stitches are crocheted on top of each other & alternating for every row.

 Schematics

 Abbreviations
- BL = back loop
- BLO = back loop only
- ch = chain
- prev = previous
- sc = single crochet
- sk = skip / skipped
- sl st = slip stitch
- st = stitch(es)
- yo = yarn over
We try our best to include all crochet abbreviations in the list above for the crochet pattern, but sometimes we may forget one or two.
Learn more about crochet abbreviations & find a complete list on our Crochet Abbreviations & Terms post.
 Stitches You Will Need

Berry stitch
Berry: Draw up a loop from BL of next st, yo, pull through 2 loops on hook (=1 sc), yo, pull through 1 loop on hook, yo, draw up a loop from left post of the sc you just made, yo, pull through 2 loops on hook, yo, draw up a loop from same left post of the sc, yo, pull through 3 loops on hook, sk 1 st, draw up a loop from BL of next st, yo, pull through the 3 loops on hook, sc in BL of next st.
Row 1: Make berry, sl st in BL of next 4 st.
Row 2: Ch 1, sl st in BL of all st from previous row.
Row 3: Sl st in BL of next 4 st , make berry.
Row 4: Ch 1, sl st in BL of all st from previous row.

 Instructions for the Crochet Mitis Mittens
Repeat twice to make 2 mittens.
These mittens are crocheted flat from left to right, then crocheted together on the top & on the sides. After that the thumb is crocheted.
For stitch repeats, continue repeating until you have 4 st left, either ending with a berry or sl st. For some rows that means you’ll end after finishing a half repeat with either a berry or 4 sl st.
Main part
Ch 40 st.
Row 1: Berry in 3rd ch from hook (1st st sk counts as 1st st for this row, 2nd ch sk counts as last ch from ch row), *sl st 4 st in BL of the next 4 st, berry across the next 4 st*, repeat from *to* until you have 10 st left, sl st in last 10 st (=39 st / 4 berries).
Row 2: Ch 1, sl st in BL of all st from prev row, turn (=39 st).
Row 3: Ch 1, *sl st 4 in BL of the next 4 st, berry across the next 4 st* repeat from *to* until you have 10 st left, sl st in last 10 st, turn (=39 st / 3 berries).
Row 4: Ch 1, sl st in BL of all st from prev row, ch 5 st, turn (=44 st).
Row 5: Sl st in 3rd ch from hook (1st st sk counts as 1st st for this row, 2nd ch sk counts as last ch from ch row), sl st 3 st, *berry across the next 4 st, sl st 4 st in BL of the next 4 st* repeat from *to* until you have 10 st left, sc in last 10 st, turn (=43 st / 4 berries).
Row 6: Ch 1, sl st in BL of all st from prev row, turn (=43 st).
Row 7: Ch 1, *berry across the next 4 st, sl st 4 st in BLO of the next 4 st* repeat from *to* until you have 10 st left, sc in last 10 st, turn (=43 / 4 berries).
Row 8: Ch 1, sl st in BL of all st from prev row, ch 5 st, turn (=48 st).
Row 9: Berry in the 3rd ch from hook (1st st sk counts as 1st st for this row, 2nd ch sk counts as last ch from ch row), *sl st in 4 st in BL of the next 4 st, berry across the next 4 st*, repeat from *to* until you have 10 st left, sc in last 10 st, turn (=47 st / 5 berries).
Row 10: Ch 1, sl st in BL of all st from prev row, turn (= 47 st).
Row 11: Ch 1, *sl st 4 in BL of the next 4 st, berry across the next 4 st* repeat from *to* until you have 10 st left, sc in last 10 st, turn (=47 st / 4 berries).
Row 12: Ch 1, sl st in BL of all st from prev row, turn (= 47 st).
Row 13: Ch 1, *berry across the next 4 st, sl st 4 st in BL of the next 4 st* repeat from *to* until you have 10 st left, sc in last 10 st, turn (=47 st / berries).
Row 14: Ch 1, sl st in BL of all st until you have 4 st left, turn without crocheting the last 4 st (=43 st).
Row 15: Ch 1, *berry across the next 4 st, sl st 4 st in BL of the next 4 st* repeat from *to* until you have 10 st left, sc in last 10 st, turn (=43 st / 4 berries).
Row 16: Ch 1, sl st in BL of all st from prev row, turn (= 43 st).
Row 17: Ch 1, *sl st 4 in BL of the next 4 st, berry across the next 4 st* repeat from *to* until you have 10 st left, sc in last 10 st, turn (=43 st / 4 berries).
Row 18: Ch 1, sl st in BL of all st until you have 4 st left, turn without crocheting the last 4 st (=39 st).
Row 19: Ch 1, *sl st 4 in BL of the next 4 st, berry across the next 4 st* repeat from *to* until you have 10 st left, sl st in last 10 st, turn (=39 st / 3 berries).
Row 20: Ch 1, sl st in BL of all st from prev row, turn (= 39 st).
Row 21: Ch 1, *berry across the next 4 st, sl st 4 st in BLO of the next 4 st* repeat from *to* until you have 10 st left, sl st in last 10 st, turn (=39 st / 4 berries).
Row 22: Ch 1, sl st in BL of all st from prev row, turn (= 39 st).
Row 23: Ch 1, *sl st 4 in BL of the next 4 st, berry across the next 4 st* repeat from *to* until you have 10 st left, sl st in last 10 st, turn (=39 st / 3 berries).
Row 24: Ch 1, sl st in BL of all st from prev row, turn (= 39 st).
Row 25: Ch 1, *berry across the next 4 st, sl st 4 st in BL of the next 4 st* repeat from *to* until you have 10 st left, sl st in last 10 st, turn (=39 st / 4 berries).
Row 26: Ch 1, sl st in BL of all st from prev row, ch 5 st, turn (=44 st).
Row 27: Berry in the 3rd ch from hook (1st st sk counts as 1st st for this row, 2nd ch sk counts as last ch from ch row), *sl st in 4 st in BL of the next 4 st, berry across the next 4 st*, repeat from *to* until you have 10 st left, sc in last 10 st, turn (=43 st / 4 berries).
Row 28: Ch 1, sl st in BL of all st from prev row, turn (=43 st).
Row 29: Ch 1, *sl st 4 in BL of the next 4 st, berry across the next 4 st* repeat from *to* until you have 10 st left, sc in last 10 st, turn (=43 st / 4 berries).
Row 30: Ch 1, sl st in BL of all st from prev row, ch 5 st, turn (=48 st).
Row 31: Sl st in 3rd ch from hook (1st st sk counts as 1st st for this row, 2nd ch sk counts as last ch from ch row), sl st 3 st, *berry across the next 4 st, sl st 4 st in BL of the next 4 st* repeat from *to* until you have 10 st left, sc in last 10 st, turn (=47 st / 4 berries).
Row 32: Ch 1, sl st in BL of all st from prev row, turn (= 47 st).
Row 33: Ch 1, *berry across the next 4 st, sl st 4 st in BL of the next 4 st* repeat from *to* until you have 10 st left, sc in last 10 st, turn (=47 st / 5 berries).
Row 34: Ch 1, sl st in BL of all st from prev row, turn (= 47 st).
Row 35: Ch 1, *sl st 4 in BL of the next 4 st, berry across the next 4 st* repeat from *to* until you have 10 st left, sc in last 10 st, turn (=47 st / 4 berries).
Row 36: Ch 1, sl st in BL of all st until you have 4 st left, turn without crocheting the last 4 st (=43 st).
Row 37: Ch 1, *sl st 4 in BL of the next 4 st, berry across the next 4 st* repeat from *to* until you have 10 st left, sc in last 10 st, turn (=43 st / 4 berries).
Row 38: Ch 1, sl st in BL of all st from prev row, turn (= 43 st).
Row 39: Ch 1, *berry across the next 4 st, sl st 4 st in BL of the next 4 st* repeat from *to* until you have 10 st left, sc in last 10 st, turn (=43 st / 4 berries).
Row 40: Ch 1, sl st in BL of all st until you have 4 st left, turn without crocheting the last 4 st (=39 st).
Row 41: Ch 1, *berry across the next 4 st, sl st 4 st in Bl of the next 4 st* repeat from *to* until you have 10 st left, sl st in last 10 st, turn (=39 st / 4 berries).
Row 42: Ch 1, sl st in BL of all st from prev row, turn (= 39 st).
Row 43: Ch 1, *sl st 4 in BL of the next 4 st, berry across the next 4 st* repeat from *to* until you have 10 st left, sl st in last 10 st, turn (=39 st / 3 berries)
Row 44: Ch 1, sl st in BL of all st from prev row, turn (= 39 st).
No need to fasten thread.
 Finishing
Assembly
Fold the mitten double lengthwise with the wrong side facing outwards & crochet together the mitten on the top (A in diagram) with slip stitches using the yarn you didn’t fasten. Fasten thread.
With a new yarn-length, crochet together the mitten along the side (B in diagram) with slip stitches, through the top 17 stitches. Leave the next 8 stitches on each side for the thumb-hole.
With another piece of yarn, crochet together the mitten along the side (C in diagram) with slip stitches, through the last 14 stitches. If you start from the bottom & go up, you can use this yarn to continue crocheting the thumb.
Thumb
Crocheted from bottom up.
Made in the 16 stitches you left for the thumb-hole.
You can continue with the same yarn as you just used for assembling C in diagram. Turn the mittens with the right side facing outwards again. Starting from the bottom, working in rounds.
*On even rows, sl st in 17 stitches, not 16 to adjust for pattern spiraling.
Round 1: Make 1 berry across the 1st 4 st, sl st in the next 8 st, make berry across the next 4 st, do not end round, continue in spiral (=16 st).
Round 2: Sl st in the next 17 st*, do not end round (=16 st).
Round 3, 5, 7, 9, 11: Repeat round 1. Round 4, 6, 8, 10, 12: Repeat round 2.
Cut yarn & fasten off.
With a needle, pull yarn through all stitches. Pull tight to close the hole on the top of the thumb.
Fasten threads & weave in ends.
Share & Worth Noting

Thank you for sharing my FREE patterns & tutorials. When you do, you support me & the blog, which makes it possible to continue sharing free content with you.
Not all content on this blog website is free, but the more you share, the more free content I will be able to share. Note that all premium content are ad free.
My crochet patterns can be used to sell handmade pieces. You are required to credit Joy of Motion/Janne Kleivset as the designer by linking back to My website: https://joyofmotioncrochet.com. You can not use my pictures when selling your handmade items. Finally, you can not resell, reprint or share any parts of my patterns as your own.