

Are you ready to learn how to crochet the slip stitch, the most basic & connecting crochet stitch? In almost every crochet pattern, you’ll need to know this crochet stitch. It is frequently used as a “connection-stitch” or for edging & finishing up a crochet project. This is also the stitch that I most frequently use to crochet 2 pieces together (especially my sweaters).
The crochet stitch is explained in a step-by-step picture guide as well as a short soundless video. To follow any crochet pattern it’s really a stitch you’ll have to know, & you’ll also discover that it’s a very easy stitch.

OTHER CROCHET STITCHES YOU MIGHT WANT TO LEARN:
Before you start learning the crochet stitch for this post, I want to share other crochet stitch tutorials from Joy of Motion. Just click the link & open them in new tabs to learn them later.
MATERIALS YOU’LL NEED TO LEARN THE SLIP STITCH:
Crochet Hook:
To follow this crochet tutorial you’ll need a crochet hook. When I crochet I usually use 2 types of crochet hooks. I’ve listed them below:
- Knitpro – Symphonie Rose Crochet Hooks – My first choice as of now is the Symphonie Rose Crochet Hooks from KnitPro. They opened my world to wood hooks & impressed me with their amazing lightness & how they feel in my hand. Even though they’re not padded, they never give me any strain while using them. I’ve only come across them in sets They are available here:
- KnitPro – Waves Crochet Hooks – Are the crochet hooks I use almost as my favorite. They are padded hooks & are comfortable to crochet with. They are a little heavier than wooden hooks, but the padded comfort is truly amazing. You can purchase these both in sets & alone. They are available here:
- Love Crochet
- Wool Warehouse
- Wool Warehouse (set)
- Amazon
- Amazon (set)
- Etsy
Yarn:
You’re going to need some yarn to follow this crochet tutorial to learn a new crochet stitch. I really do love purchasing my yarn online. Here’s my top yarn resources:
Instructions
Step 1: Setup

I’m starting this guide off without any extra explanation on how to chain or start a row. Consequently you should know how to make a slip knot and crochet a chain.
To keep it simple, I’ve chained 10 stitches, turned and crocheted single crochet stitches across the chain row.
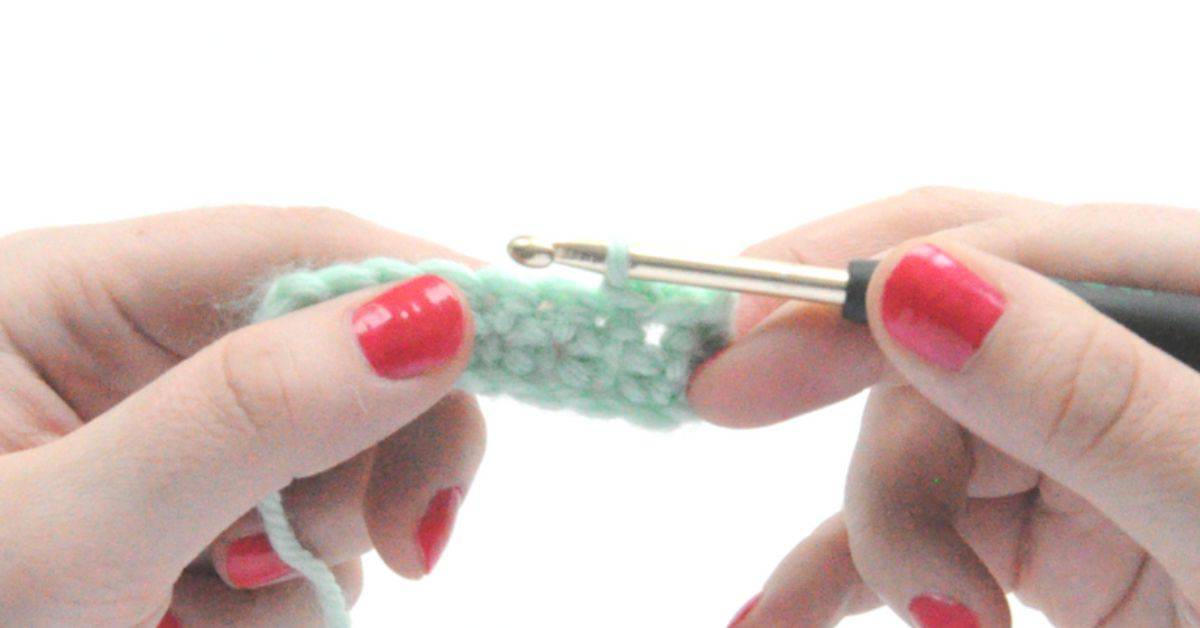
Step 2: Insert hook in next stitch or indicated stitch

Insert hook in next stitch or in given stitch.
Step 3: Draw yarn through the stitch

Draw up a loop by drawing the yarn through the stitch you inserted the crochet hook. You have 1 loop on the crochet hook.
Step 4: Pull yarn though the loop on the hook

Pull the yarn through the loop on the crochet hook to finish the slip stitch.
Step 5: Slip stitch finished

You have now finished the slip stitch. In this tutorial steps 3-5 are shown in 3 different steps. However, if you are an experienced crocheter you will probably do this in one motion. If you’re a beginner, don’t worry, you will probably do it in one motion soon.
Slip Stitch – Written Description
- Insert hook in next stitch or indicated stitch.
- Pull yarn through the stitch & the loop on the crochet hook.
- You have now finished a slip stitch.
Notes
Abbreviation:
The slip stitch is often shortened to “sl st” in crochet patterns.
This silent video shows you how to crochet the slip stitch along a row.
CROCHET PATTERN DESIGNS USING THE SLIP STITCH:
I really hope you enjoyed learning this crochet stitch. It’s truly the easiest crochet stitch & needed in most crochet patterns.

