In this crochet stitch tutorial you’ll learn how to crochet the bubble pattern crochet stitch.
The crochet bubble pattern is a beautiful crochet stitch that can be used in many stunning crochet projects.
You’ll have a great photo tutorial to help you learn this crochet stitch, as well as a simple video.
Let’s dive into learning this easy crochet stitch.
Would you like to save this?
What is the bubble pattern crochet stitch?
The bubble pattern crochet stitch is a great crochet stitch that is creates small bubbles stacked zig zagging on top if each other. It is also known under the name the Elizabeth stitch.
The stitches you will need to know is chains.
The pattern is a stitch multiple of 2 stitches.
Crochet Stitch Pattern Bundle
Like this? Get the ad-free version + 19 other crochet stitch patterns with the “Crochet Stitch Pattern Bundle“.
Learn more about the Stitch Pattern Bundle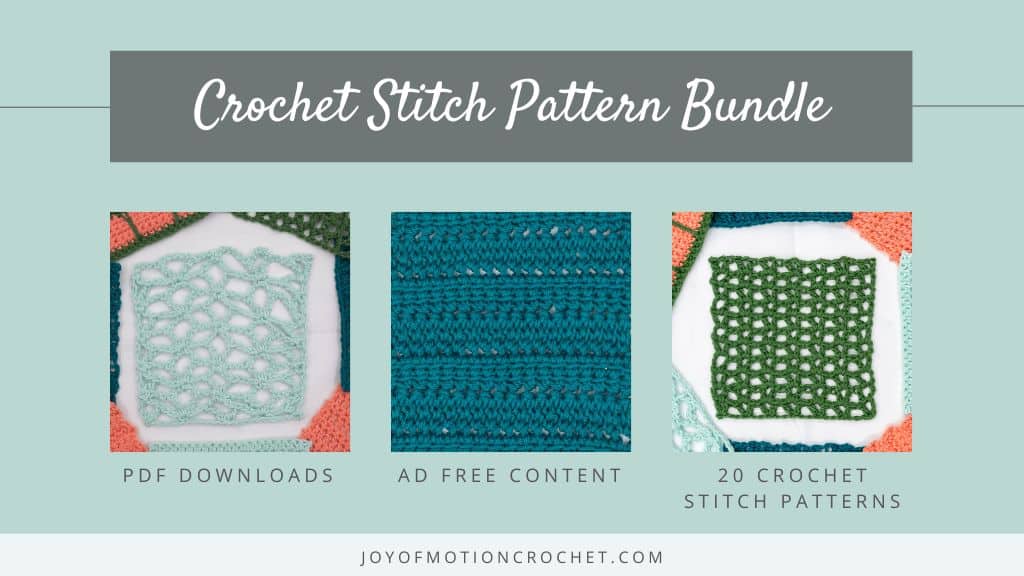
Materials Needed
To crochet the bubble pattern you can use any crochet hook size and weight yarn. If you’re following a crochet pattern, use the crochet hook and yarn suggested to get the correct gauge.
Pin on Pinterest!

Crochet a blanket!
Use this crochet stitch pattern to crochet a blanket! Learn more about crochet blanket sizes & making one with any size crochet hook & yarn:
How to Crochet the Bubble Stitch – Written Tutorial
*draw up a loop, yarn over, draw up a loop from same stitch, yarn over, pull through all, chain one – skip the next stitch* repeat. Start rows with chain (ch) 1 & end rows with single crochet(sc) 1.
Crochet Abbreviations
- ch – chain
- sc – single crochet
We try our best to include all crochet abbreviations in the list above for the crochet stitch pattern, but sometimes we may forget one or two.
Learn more about crochet abbreviations & find a complete list on our Crochet Abbreviations & Terms post.

How to Crochet The Bubble Pattern
Skill Level
Tools

Materials
- skein Yarn
Abbreviations
Instructions
- Since the purpose of this post is to learn the stitch I suggest that you start by making a small test square: Chain 10 stitches, turn. Single Crochet along chain row, turn. Then you are ready to start learning how to crochet the bubble pattern!If you are uncertain about “Chains” and for “Single Crochet”, view the Beginners Guide To Crochet.

- Start every row of bubble pattern with Chain 1.
- Insert hook in next stitch from front to back, or in indicated stitch.
- Yarn over from back to front, ready to pull yarn through the stitch.
- Pull up a loop, you now have 2 loops on your crochet hook.
- Yarn over from back to front, you are now ready to insert hook in same stitch.
- Insert crochet hook in same stitch to be able to pull up another loop.
- Yarn over and pull up another loop. You now have 4 loops on your crochet hook.
- Yarn over from back to front. Ready to finalize the first cluster/mini bubble.
- Pull the yarn though all the loops on the crochet hook.
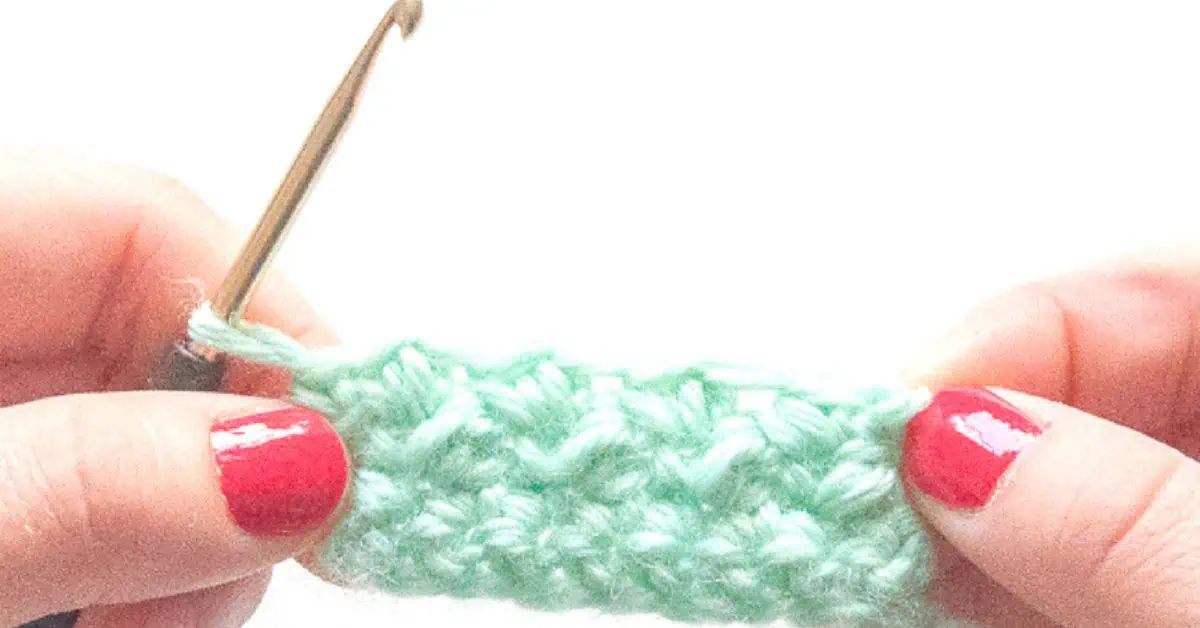
- This is how it looks after you pulled through the 4 loops that was on the crochet hook. Ready for the final steps of the bubble pattern.
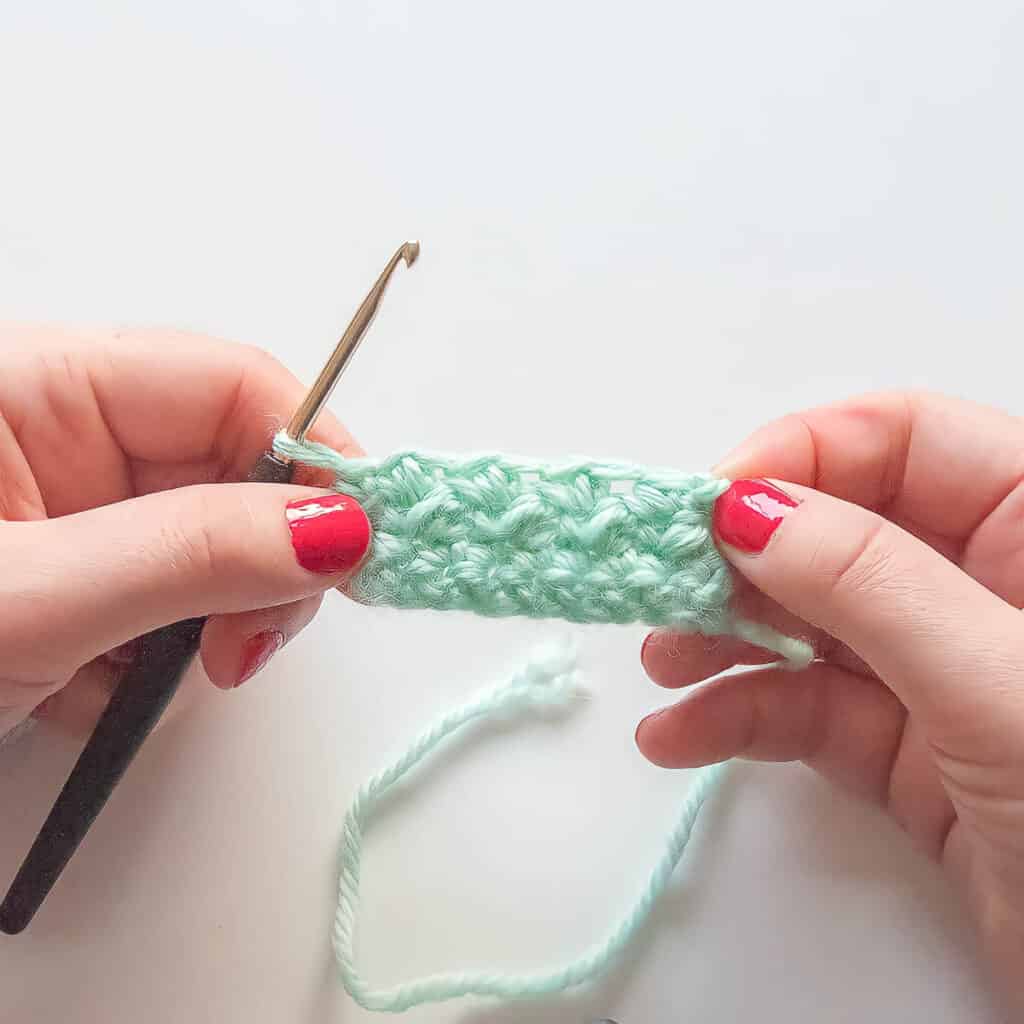
- Crochet one chain and skip 1 stitch before you start back on step 3. Repeat steps 3 – 12 until you reach the end of the row. Single crochet in last stitch.
- Row 2 of the bubble patternWhen you turn & crochet the second row you should put your hook through the bubble from last row, not the chain. However if you are working in rounds or spirals you will put the hook in the chain from last round to make your bubble. After two rows it should look like this:


Bubble Pattern Crochet Stitch Video Tutorial
Crochet Patterns Using The Bubble Pattern Crochet Stitch
I hope you enjoyed learning how to crochet the bubble pattern.
It can be used for so many beautiful crochet projects! Happy crocheting!