
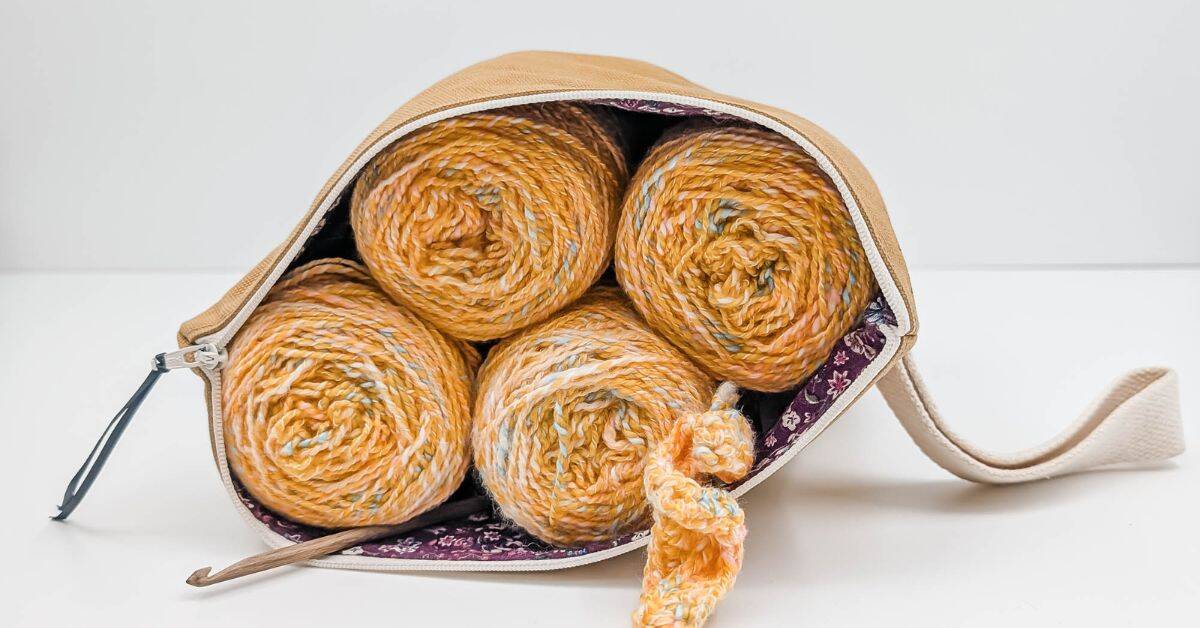
Every crocheter has at least one WIP (work-in-progress)… and usually more. A half-finished cardigan on the sofa, a blanket tucked into a basket, a shawl waiting patiently in a project bag—you’re not alone if your home starts to look like a cozy yarn trail.
WIPs are part of the creative process and a thoughtful crochet WIP storage system makes them even more enjoyable! But when they start adding stress instead of joy, a little organization can make everything feel lighter.
This guide gives you realistic, low-pressure ways to store, sort, and organize your crochet projects—no fancy craft room required. Just simple solutions that fit your everyday life.
Would you like to save this?
Understand the Different Types of Crochet WIPs
Before you start sorting, get clear on the types of WIPs you have. This makes everything easier later and removes so much guesswork and guilt.
When you can name whether something is active, slow-burn, hibernating, or ready to let go, it becomes much easier to decide where it belongs in your crochet WIP storage system and how much energy it deserves right now.

Active WIPs
These are the projects you’re touching weekly—the ones you naturally reach for on the sofa or keep in your favorite project bag.
They usually deserve the most visible, easy-to-grab spot in your crochet WIP storage so you can pick them up whenever you have a spare moment.
Slow-Burn WIPs
These are long-term makes like blankets or cardigans from your yarn stash. You return to them seasonally, and they often live in the background while you finish quicker projects.
They still matter, but they don’t need necessarily prime sofa-side storage every single week.
Hibernating WIPs
These projects are resting for now—maybe you hit a tricky section, ran out of yarn, or simply needed a break.
You’ll get back to them eventually… probably, but for now they can live in calm, contained crochet WIP storage so they’re safe without adding daily visual clutter.
“Do I Even Want to Finish This?” WIPs
Be honest—some projects lose their spark, no matter how much time you’ve already put in. That’s okay.
Naming these WIPs helps you decide whether to frog them, repurpose the yarn, or keep just one as a sentimental project without letting them quietly drain your energy.
How to Sort Your Crochet WIPs Quickly (Easy 15-Minute Method)
This method is fast, simple, and gentle. Think of it as a mini reset rather than a full craft-room makeover—you’re just giving every project a clear place to live so your crochet WIP storage feels calmer and easier to maintain.
1. Gather all your WIPs
Every bag, basket, drawer, and crochet supplies.
2. Sort into 4 piles
Active / Slow-Burn / Hibernating / Let-Go.
3. Give each category a home
- Active → next to your chair, in a tote, or by your bed.
- Slow-Burn → cube storage or shelves.
- Hibernating → closable boxes or bins.
- Let-Go → frog, repurpose, or donate.
This tiny reset can make your crochet space feel brand new.
Crochet WIP Storage Ideas for Active Projects
These projects deserve easy access and are a key part of practical crochet WIP storage.
- Baskets by your favorite chair: A soft crochet basket keeps everything tidy and within reach.
- Project totes: Great if you crochet in multiple places.
- The “One Basket Rule”: Limit what stays in your main living area to avoid overwhelm.
How to Store Long-Term Crochet WIPs (Slow-Burn Projects)
You don’t need these in your daily path, but they should be easy to pick up again when the mood strikes.
Good crochet WIP storage for slow-burn projects keeps them protected, labeled, and ready for you to restart without having to re-figure everything out.
- Cube shelves with bins: Perfect for sweaters, blankets, and large projects.
- Clear project pouches: You can instantly see yarn, hook, and notes.
- Baskets: Open top to easily see the content.
- Label everything: Even a sticky note helps your future self.

Smart Storage Solutions for Hibernating Crochet WIPs
These projects need protection more than accessibility. Think of this as the “gentle pause” zone in your crochet WIP storage—everything is contained, dust-free, and safe until you’re ready to decide whether to finish, frog, or let go.
- Airtight boxes: Keep out dust, moisture, and curious pets.
- Monthly WIP check-in: Spend five minutes reassessing what’s worth keeping.
- Add a project info card: Note hook size, yarn, pattern, and last completed row.
What to Do With Unwanted Crochet WIPs (Guilt-Free Options)
Letting go is healthy.
- Frog it: Reclaim yarn for something new.
- Donate parts: Squares and small pieces can be used by charity groups.
- Turn them into scrap projects: Coasters, bags, squares—endless possibilities.
- Keep one sentimental WIP: There’s always one worth keeping just because.

How to Keep Crochet Hooks, Notes, and Yarn Labels Organized
A small amount of planning prevents big headaches.
- Store a hook set in each project bag: Or, if you prefer, store all hooks together—just be consistent.
- Keep yarn labels: Or write fiber and dye lot on a sticky note.
- Use a WIP info card: A simple note makes picking up any project easier.
Crochet WIP Organization Tips
If you use a crochet planner or digital notes, this will help you connect your physical crochet WIP storage with a simple system you can actually maintain.
A few quick habits make it much easier to remember where each project is, what hook you used, and what you want to work on next.
- Take progress photos: Visual tracking keeps motivation high.
- Use your crochet planner: Track deadlines, yarn details, and what’s left to finish.
- Save pattern links digitally: A simple notes app works wonders.

Weekly Crochet WIP Routine to Stay Organized
Simple crochet habits and consistency prevent WIP overwhelm. A tiny weekly check-in with your crochet WIP storage—just a few minutes at a time—keeps projects moving, baskets tidy, and your space feeling calm instead of crowded.
- Sunday 10-minute tidy: Return hooks, gather yarn ends, and tidy your basket.
- Choose a “main project of the week”: Less decision fatigue = more crochet time.
- Update your planner: Write down progress, stash changes in your yarn stash, and today’s wins in your crochet planner.
How to Decide When to Let Go of a Crochet WIP
Letting go of a project can feel tough, but it’s also one of the kindest things you can do for your creativity.
Some WIPs have already given you what you needed—a new skill, a color experiment, or simply the comfort of stitching during a hard season—and it’s okay to release them.
A few signs a WIP has run its course:
- The yarn no longer inspires you.
- The project brings more frustration than joy.
- Your skills or style have evolved.
Letting go frees up space for creativity.

Final Thoughts: Keep Your Crochet WIPs Organized with Simple Systems
Your WIPs are proof of creativity—not clutter. With realistic storage solutions and a gentle sorting routine, you can turn overwhelm into calm and enjoy your projects even more. Whether you’re finishing a cardigan or rediscovering an old blanket, every stitch tells part of your crochet story.
A little organizing today makes tomorrow’s crochet time feel even cozier.

