
If your yarn, hooks, and half-finished projects seem to multiply on every surface, you’re not alone. Craft room organization for crochet doesn’t have to mean a picture-perfect studio—it simply means creating a space where you can actually find what you need and enjoy your projects without the stress.
This checklist walks you through craft room organization for crochet in simple, doable steps.
Whether you have a whole room, a shared office, or just a corner of the living room, you can use these ideas to tidy up, make smart storage choices, and turn your space into a cozy crochet space.
Would you like to save this?
Step 1 – Craft Room Organization for Crochet Starts with a Clear Vision
Before you start rearranging shelves or buying new bins, take a moment to think about how you actually use your space. When your vision is clear, craft room organization for crochet becomes a lot easier and more intentional.
Define How You Use Your Crochet Space
- What do you mainly do here? (Crochet only, crochet + work, or a general family space)
- How many hours per week do you realistically spend crocheting?
- Do you need quiet focus, TV time, or a family-friendly setup where others are nearby?
- Do you film videos, take photos, or write patterns in this same space?
Knowing this helps you prioritize which areas to organize first and what needs to be closest to your main crochet chair or desk.

Do a Quick Declutter Sweep
- Remove obvious trash like yarn labels, broken tools, packaging, and old receipts.
- Take out non-craft items that don’t belong in your crochet area (dishes, random paperwork, toys).
- Create temporary “sort later” boxes labeled: yarn, notions, patterns, WIPs, random.
You’re not making big decisions yet—just clearing the surface so you can actually see your craft room and start real craft room organization for crochet work.
Step 2 – Organize Your Yarn Stash
Yarn is the heart of your crochet space—and often the biggest source of chaos. When you organize your yarn intentionally, craft room organization for crochet becomes so much more satisfying and inspiring.
Sort Your Yarn by Category
- Gather all yarn into one place (yes, the bags in the closet count too).
- Sort by weight: lace, fingering, DK, worsted, chunky, super bulky, etc.
- Sort by fiber: cotton, wool, acrylic, blends, specialty fibers.
- Separate full skeins from partial skeins and scraps.
This step helps you see what you actually have and how your yarn stash can support your crochet plans for the year.

Make Decisions: Keep, Use Soon, Donate
- Create a “love it” pile for yarn you’re excited to use.
- Make a “use soon” basket with yarns you want to turn into stash busting projects.
- Set aside yarn to donate or destash—colors you’ve outgrown, fibers you don’t enjoy, or impulse buys that no longer fit your style.
These decisions support long-term craft room organization for crochet, because your stash starts to reflect what you truly want to work with.
Choose Yarn Storage that Fits Your Space
- Use shelves, cubes, or bookcases for visible, color-sorted skeins.
- Store bulk yarn in bins, baskets, or closed cabinets if you prefer a tidy look.
- Use clear boxes or zipper bags for project-specific yarn sets or fiber-specific collections.
- Add labels based on what makes sense for you: weight, fiber, color family, or project type.
The goal is simple: When you sit down to crochet, you want to find the right yarn in seconds—not after tearing apart your craft room.

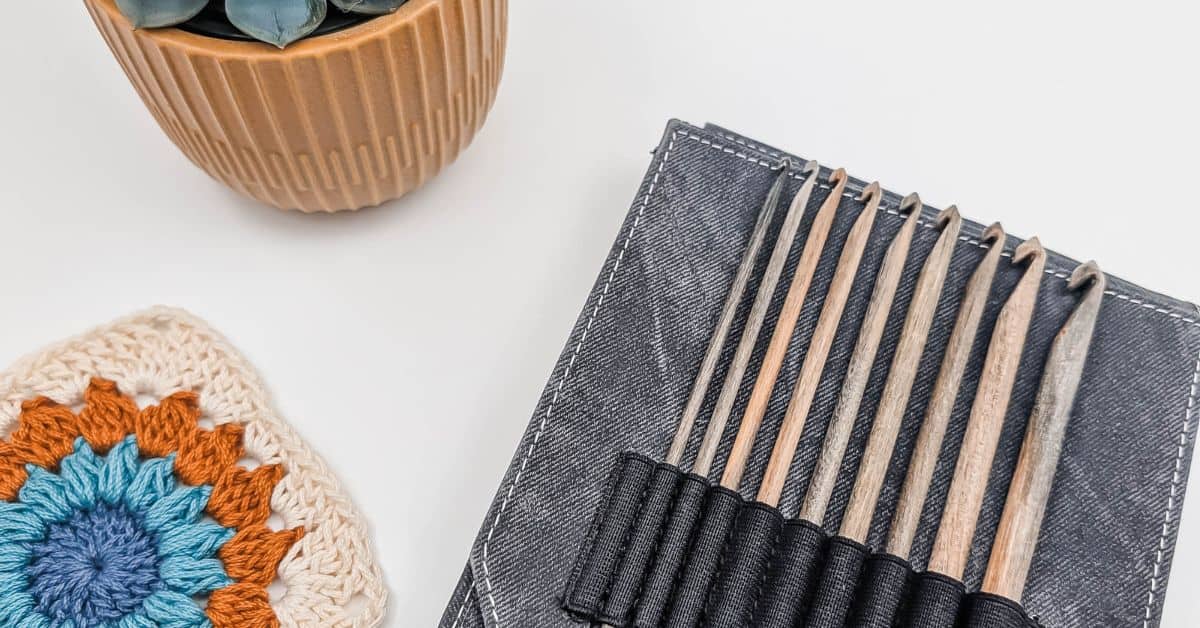
Step 3 – Tidy Your Crochet Hooks & Notions
Hooks and notions are small, easy to misplace, and absolutely essential. A little structure here goes a long way in craft room organization for crochet.
Sort Hooks and Tools
- Gather every hook from project bags, baskets, and drawers.
- Group hooks by size and type: ergonomic, aluminum, bamboo, steel, tunisian.
- Check for damaged hooks and set them aside to repair or replace.
- Sort scissors, stitch markers, tape measures, yarn needles, row counters, and measuring gauges.
This gives you a clear picture of what you already own—and what you actually use.

Create a Dedicated Tool Station
- Use a hook case, pencil cup, or small tray for the hooks you reach for daily.
- Store stitch markers, yarn needles, and small items in divided boxes, tins, or small jars.
- Keep scissors and tape measures in a consistent, easy-to-reach spot near your crochet seat.
A dedicated tool station turns your craft room into a more efficient workspace and supports your overall craft room organization for crochet.
Build an Everyday Crochet Kit
- Pack a small pouch with 2–3 favorite hook sizes you use most often.
- Add scissors, tapestry needles, stitch markers, and a tape measure.
- Keep this kit beside your sofa, favorite chair, or in your project basket.
This portable kit keeps you crocheting smoothly, even if your craft room is shared or small.

Step 4 – Organize WIPs (Works in Progress)
WIPs can multiply quietly and turn any organized craft room into a stressful pile. Including WIP systems in your craft room organization for crochet keeps your projects joyful instead of overwhelming.
Take Inventory of All WIPs
- Gather every WIP from bags, baskets, drawers, and shelves.
- Write a quick list with: project name, yarn used, hook size, pattern source, and current step.
- Decide for each project: keep, frog (unravel), or finish soon.
Sometimes craft room organization for crochet means letting go of projects that no longer excite you.
Give Each WIP a Home
- Use project bags, baskets, or clear boxes for individual WIPs.
- Add a note inside each bag with hook size, pattern name, and what to do next.
- Keep 1–3 “active” WIPs in a prime spot and move long-term or “slow-burn” projects to a shelf.
When each WIP has a home, your craft room looks calmer, and it’s easier to pick up your crochet without feeling guilty.

Set WIP Limits and Rotation
- Decide on a maximum number of active WIPs (for example, 3–5).
- Choose one WIP to prioritize this week and place it where you’ll see it.
- Review your WIP list monthly and adjust what’s active, paused, or ready to frog.
These small rules help keep craft room organization for crochet realistic and sustainable.
Step 5 – Pattern & Planner Organization
Patterns and notes can quickly turn into paper piles or scattered PDFs. Building a simple system here is a big part of how you organize crochet projects.
Organize Printed Patterns
- Gather printed patterns from binders, boxes, and random stacks.
- Recycle or shred duplicate pages and patterns you know you’ll never make.
- Sort remaining patterns by category: garments, accessories, blankets, home décor, toys, etc.
- Store them in binders with plastic sleeves, magazine files, or labeled folders.
Keep your most used patterns and reference sheets closest to your main crochet spot.
Clean Up Digital Patterns & Files
- Create a main “Crochet Patterns” folder on your computer or cloud drive.
- Organize into subfolders: by designer, project type, or difficulty—whatever feels natural to you.
- Rename files clearly (for example, “Designer – Pattern Name – Size.pdf”).
- Back up your digital pattern library to a cloud service or external drive.
Digital craft room organization for crochet means you’re never digging through random folders for that one pattern you bought months ago.
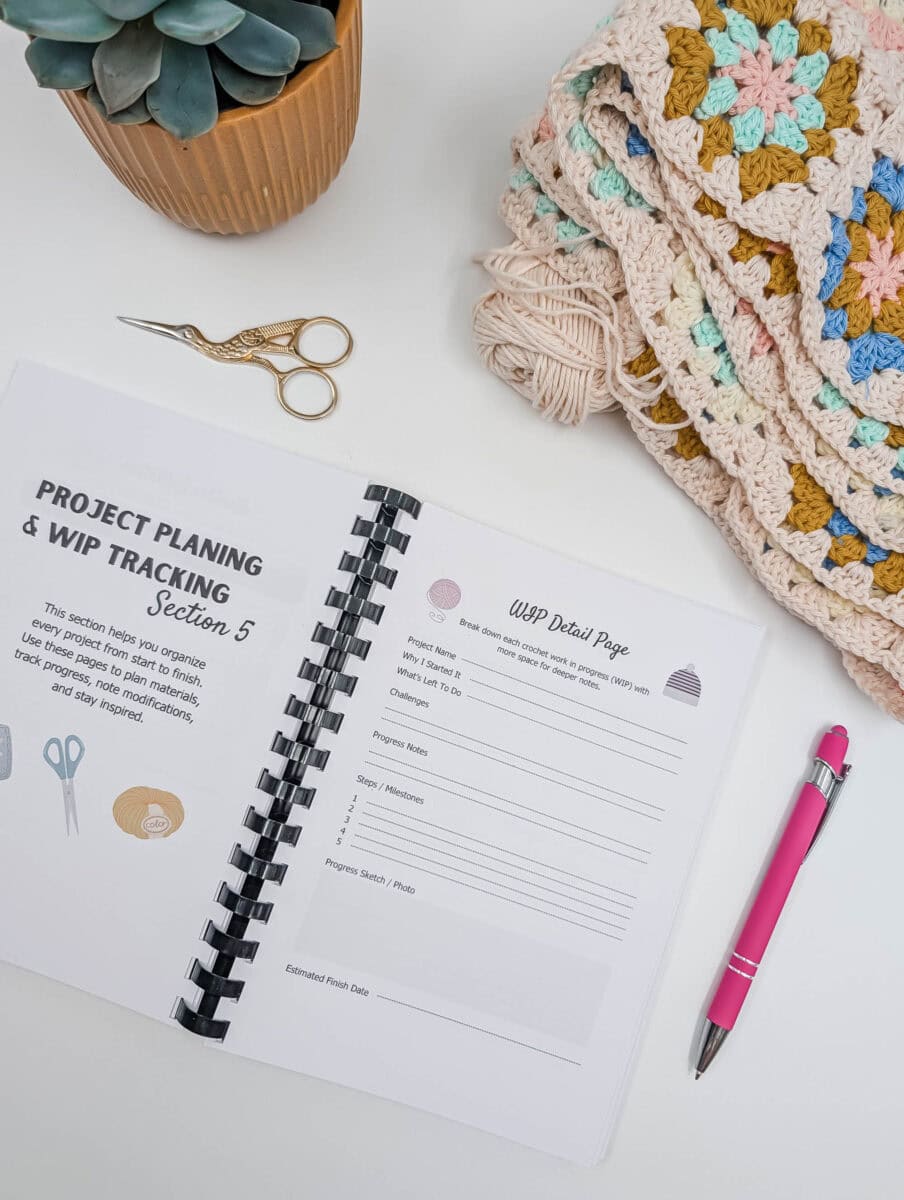
Use a Crochet Planner or Project Journal
- Choose a crochet planner, notebook, or digital tool to track your projects and plans.
- Add sections for yarn stash, hook inventory, WIP list, and pattern wish list.
- Log start dates, end dates, yarn used, and notes for future reference.
When your patterns and projects are tracked in one place, your craft room feels more intentional and less chaotic.

Step 6 – Furniture, Layout & Zones
The layout of your space is just as important as storage. A few thoughtful changes can make craft room organization for crochet feel natural in your daily routine.
Define Crochet “Zones”
- Work zone: a table or desk for blocking, seaming, pattern writing, or filming.
- Relax zone: a chair or sofa where you usually sit and crochet.
- Storage zone: shelves, cabinets, or closets for yarn, tools, and WIPs.
Even in a small room, thinking in zones helps you place things where you’ll actually use them.
Optimize Your Main Crochet Spot
- Add a side table, small shelf, or rolling cart next to your main crochet seat.
- Keep hooks, scissors, and your current WIPs within easy reach.
- Use a good lamp or task light so you can see stitches clearly, especially with dark yarn.
- Place a small trash bin or jar nearby for yarn ends and labels.
This is where craft room organization for crochet meets comfort—you want the area where you sit to feel inviting and easy to maintain.

Step 7 – Labels, Bins & Smart Storage Details
The little details—like labels and containers—are what keep craft room organization for crochet working long-term, not just for a weekend.
Create Labels that Work for You
- Choose a simple labeling system: by yarn weight, fiber, color family, or project type.
- Label shelves, bins, and boxes so you can find yarn quickly.
- Use removable labels, tags, or washi tape so you can tweak your system as your stash changes.
Labels reduce decision fatigue; you know exactly where things belong.

Smart Storage Ideas for Small Spaces
- Over-the-door organizers for yarn, hooks, or tools.
- Rolling carts that can move between your craft room and living room.
- Under-bed boxes for bulk yarn or seasonal projects.
- Wall shelves, pegboards, or hook rails for pretty skeins, project bags, or frequently used tools.
These solutions support craft room organization for crochet even when you don’t have a dedicated room.
Step 8 – Cleaning & Maintenance Habits
The real secret to craft room organization for crochet is maintenance. Small, regular crochet habits keep everything feeling calm and functional.
Weekly Crochet Space Reset
- Put hooks, scissors, and notions back in their homes.
- Return leftover yarn to your stash or scrap bins.
- Clear your main crochet space of non-crochet clutter.
- Glance over your WIP basket and move one project to the front for the week.
This weekly reset can take just a few minutes but makes a big difference.
Monthly Deep-Dive
- Review your WIP list: finish, pause, or frog projects that aren’t moving.
- Wipe down shelves, tables, and storage containers.
- Check yarn for dust, pet hair, or too much direct sunlight.
- Revisit your stash and move “maybe later” yarn into a donate/destash box if needed.
Building these habits into your craft room organization for crochet routine keeps things from sliding back into chaos.
Seasonal Review
- Rotate projects based on the season (cozy blankets and garments vs. lightweight summer makes).
- Refresh your inspiration board or shelf with finished projects and new ideas.
- Reassess your storage: do you still like your system, or is it time for a tweak?
Seasonal reviews are a gentle way to realign your space with how you’re crocheting right now.
Craft Room Organization Checklist for Crocheters (Quick Summary)
Use this quick checklist to track your progress as you work through craft room organization for crochet:
- Clear and declutter your craft space
- Sort yarn by weight and fiber
- Set up yarn storage with labels
- Organize crochet hooks and notions
- Create an everyday crochet tool kit
- Inventory and sort all WIPs
- Set WIP limits and priorities
- Organize printed patterns into labeled sections
- Clean up and back up digital patterns
- Use a crochet planner or project journal
- Define work, relax, and storage zones
- Improve lighting and seating for comfort
- Add labels, bins, and smart small-space storage
- Establish weekly and monthly reset routines

Closing – Your Craft Room as a Crochet Haven
Remember, craft room organization for crochet isn’t about perfection. It’s about creating a space where you feel calm, inspired, and ready to pick up your hook.
You don’t have to tackle everything in one day—choose one area, one shelf, or one WIP basket and start there.
Every small step you take makes your craft room feel more like a true crochet haven, and over time, your organized space will quietly support every project you make.

